DAY 1 Nov 28, 2008
The studio construction begin in October 26, 2008. I have contracted a recommended builder and placed the order for the first materials.
Fist thing to do was to clear up the construction space in the basement and next thing to do was to relocate a draining pipe that was running across the basement to gain some height. The basement ceiling is 2,40 meters and I was well aware that it is not an ideal height for a studio but the pipe was giving us just 2,22 meters and that was too low.
 The pipe relocated and sound isolated.
DAY2 Dec 1, 2008
The floor begins with a protective layer to avoid damage the original basement's floor. I have this place rented and I have to leave it as it was the day I will leave this house. For the moment I have signed for 5 years and maybe I will be able to extend that rental period in the future. That also means I don't plan to use very much glue and almost everything will be attached with screws.

The wood strips are placed over the protective layer but the U-boats had not arrived yet.

The U-boats arrived the same day and were placed under the strips. The audio main pipes were placed as well.
DAY 3 Dec 3, 2008
Fixing sound absorption tape over the wood strips to decouple the MDF panels that will be placed on top.

Pepe peeling off the absorber tape.

Absorber tape fixed on some of the floor strips.

First fiber panels placed below the MDF panel.
DAY 4 Dec 4, 2008
The first layer of MDF panels is almost ready. We are waiting for the SheetBlok rolls to arrive and start to plan the electrical socket allocation.

Pepe looking at the nearly finished floor stage.

First floor layer ready.

A view from the bottom of the basement.
DAY 5 Dec 5, 2008
As the SheetBlok shipment was late and would not arrive until next week, we decided to begin to build the wall structures knowing that we would not going to be able to fix them over the floor until the Sheet Block and the plywood layers were set. We did the work over the recently finished floor with the structures laying on it.

Taking care of the window niche on the wall.

Cutting wood strips to place between the joist

The two main long wall ready waiting for the floor to be finished.
DAY 6 Dec 9, 2008
The sound barrier has not arrived yet but we expect it to arrive tomorrow morning. In the meantime we are making more wall structures to keep up with the building pace. We also made a hole in the wall where the AC unit is going to be, just to be sure the blower will fit into the space... An guess what? It's enough space for it to be installed!

The two front wall structures at the bottom and the vocal boot walls resting on the right side.

The hole we did to check the space where we plan to install the AC blower and where the ducting is going to come through.
DAY 7 Dec 10, 2008
In the morning Pepe started to cut and shape the second layer of plywood panels wile we awaited the the SheetBlok courier to arrive .

All the wall structures piled against the side to give space to shape the panels.
Finally! The SheetBlok rolls are here!
The second floor layer gets fixed and we allocate the wall structures along the floor perimeter to verify they are good in size and that they will fit right.
The SheetBlok extra lip we are leaving out will be bent over to be placed underneath the wall structures. In fact we are going to have two layers of SheetBlok under the walls. The ceiling and the walls together will be very heavy so a double layer is recommended.

Moving around the wall structures to check their size.


The SheetBlok comes with a thin layer that will avoid it to be stuck to the top layer and therefore it will be easier to remove when the time comes.

Pepe is a very nice guy and he's doing an amazing work.

SheetBlok extra lips detail.

The central wall is temporarily placed in the middle while the floor gets finished.
The floor layers (From bottom to top):
- Floor protection.
- Auralex U-boats.
- Pine wood strips 50x35 mm with rockwool in between
- Absorber tape.
- 19 mm MDF panels.
- Sound barrier.
- 19 mm Plywood panels.

To finish the floor I plan to fix a light toned standard floating wood floor on top.
DAY 8 Dec 11, 2008
We started to fix the walls to the floor placing two layers of SheetBlok between the walls and the floor. A wider and longer wood strips for the control room ceiling arrived and were also placed.

The bigger wood strips for the control room ceiling laying on the floor.
DAY 9 Dec 12, 2008
The bigger wood strips has been fixed over the wall structures. There are some minor obstacles we need to avoid, like the small draining pipe that comes from the kitchen on the top floor.

The long wood strips placed over the control room walls.

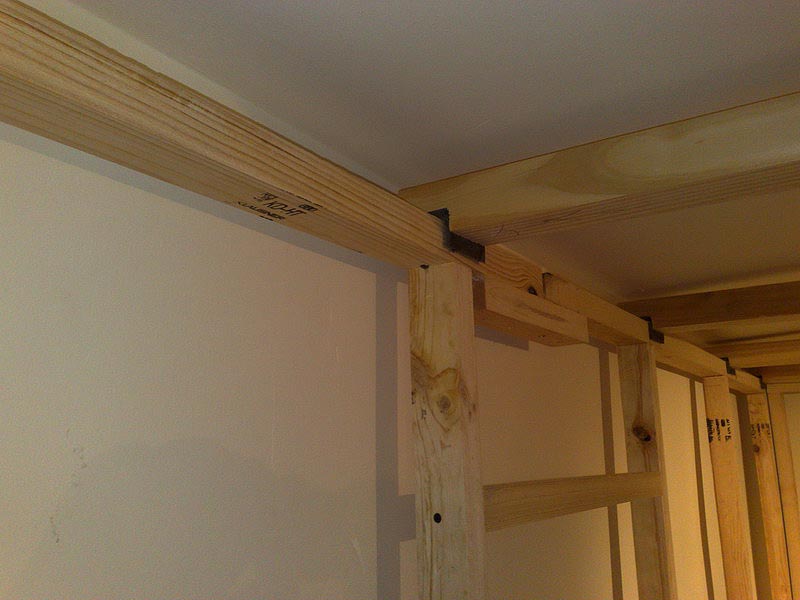
Sound barrier for the ceiling strips. The strips has been cut out to avoid touching the basement ceiling.
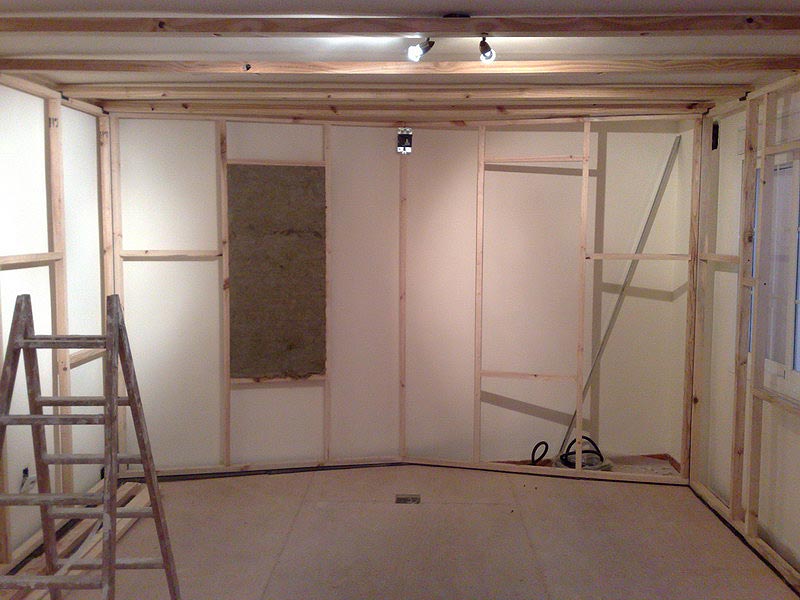
The front wall fixed with the first mineral fiber panel placed.

Special reinforcement to avoid touching the draining pipe.
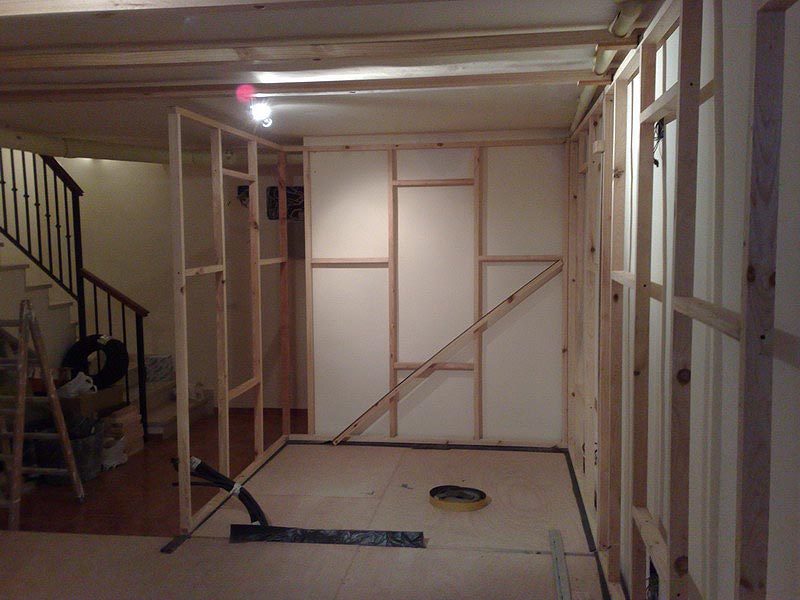
The vocal boot is ready too. There are two wall left to be done when the doors arrive.
DAY 10 Dec 15, 2008
Monday. This morning I have ordered the two doors I will need for the studio. I expect one of them (the vocal boot glass door) to arrive at the end of this week.
Once the wooden cage is ready it's time to begin to install the resilient channels in the ceiling and onto the walls. Those will hold the double layer of gypsum and sound barrier. Pepe has started to place the mineral fiber panels (rockwool) behind the resilient channels.
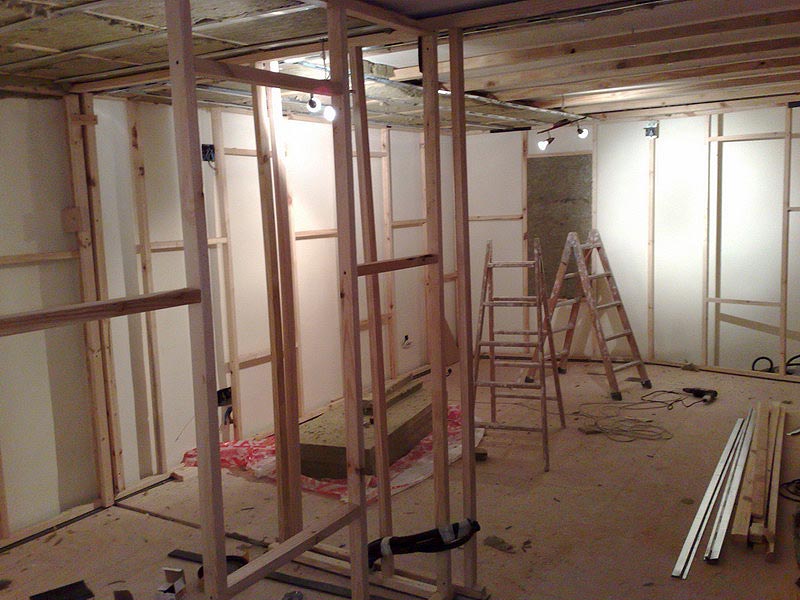
The first mineral panels begin to dress up the ceiling.
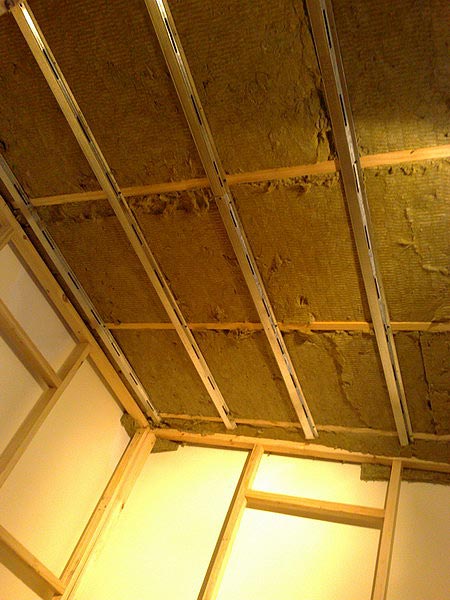
The vocal boot ceiling is ready in a breeze.
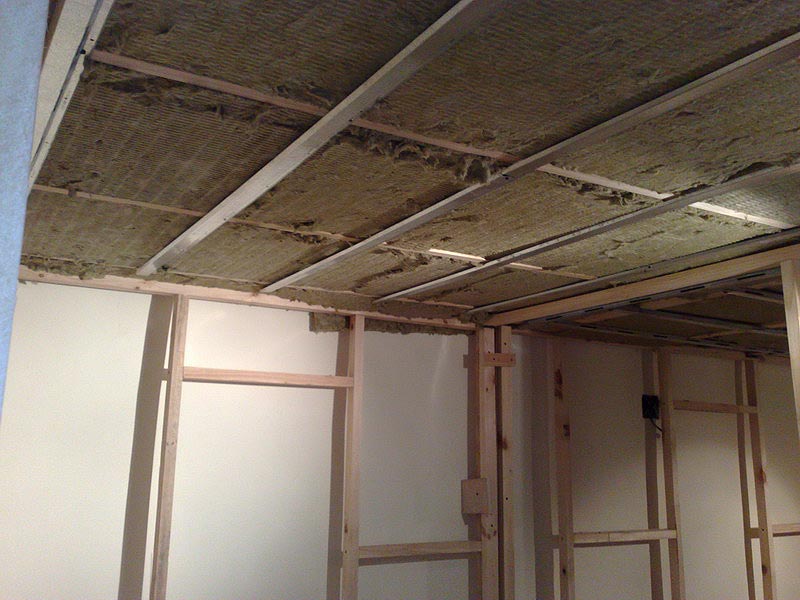
Vocal boot insulation detail.
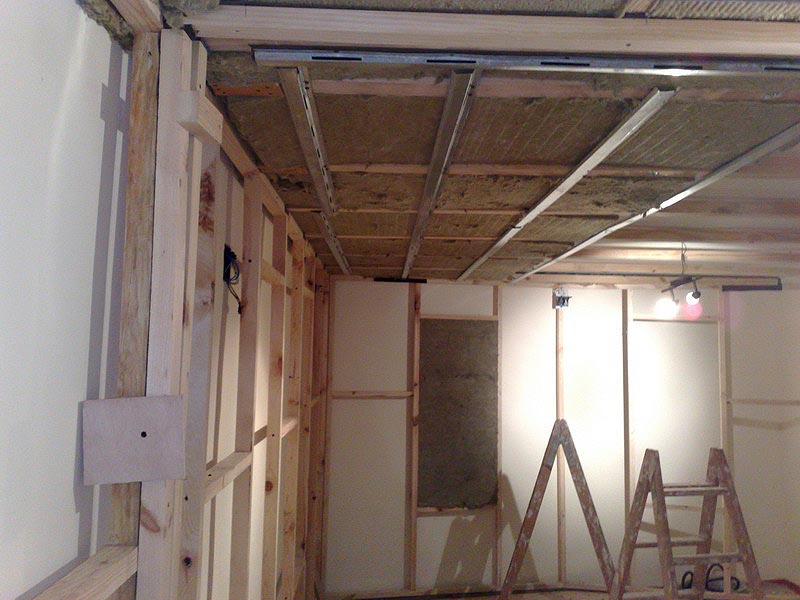
The control room ceiling is half done.
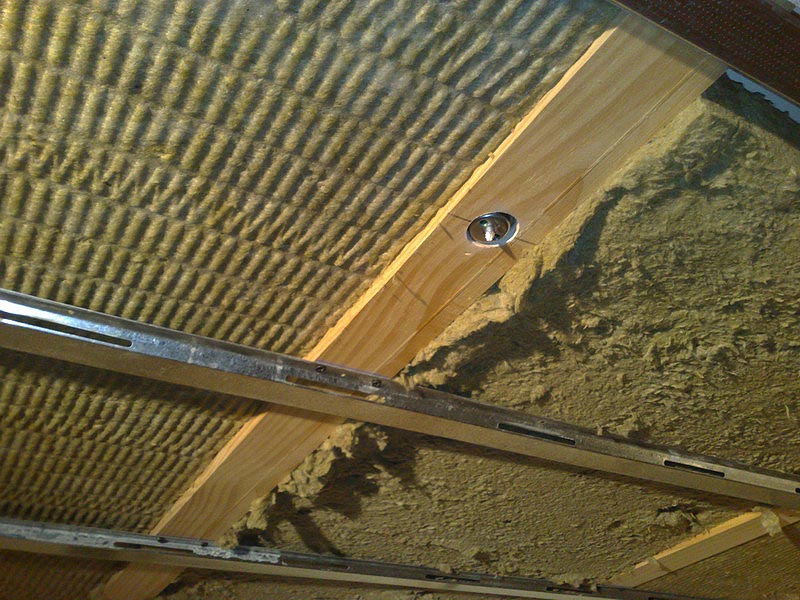
To avoid the ceiling beams to bend we fixed the strips with a special rubber rawplug. These are keeping the beams in place without touching them and holds the cage steadily.
It's also time to decide where the electrical pipes for the sockets and the lighting should go. I will work out the electrical plans tonight. I expect the AC machine to arrive on Wednesday so the electrical pre-installations has to be done quickly.
DAY 11 Tuesday, Dec 16, 2008
In the morning the electrical pipes were allocated and Pepe continued to fix resilient channels to the wall structures. Both ceilings are completed with the rockwool panels placed.
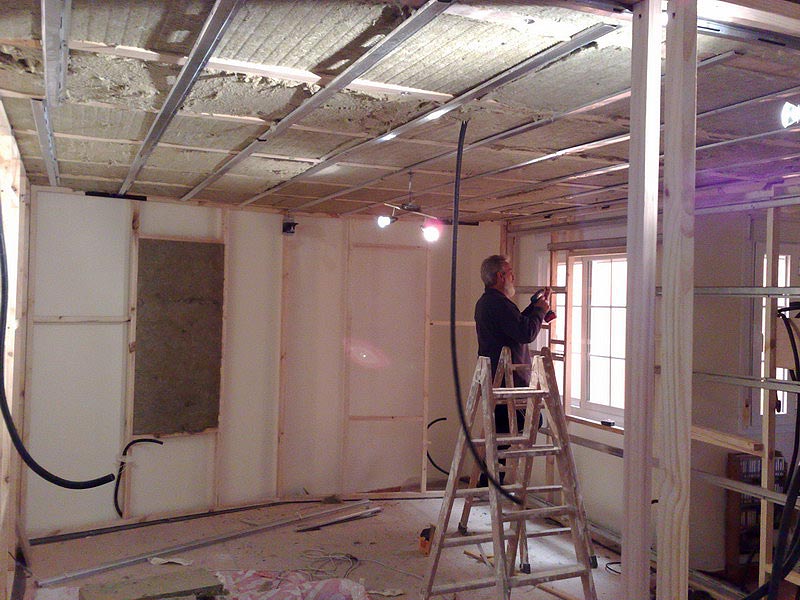
Pepe begin to fix resilient channels to the wall structures.
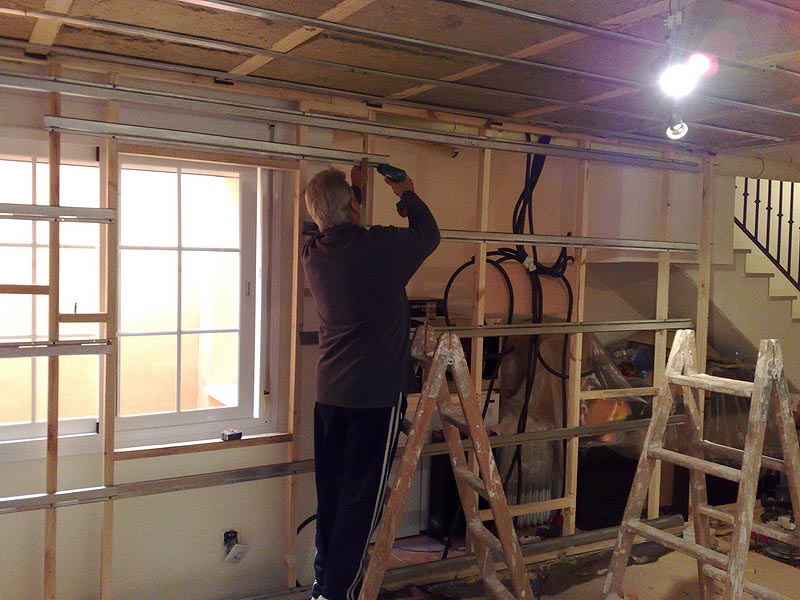
The pipes piled tied together where the electrical box is going to be installed.
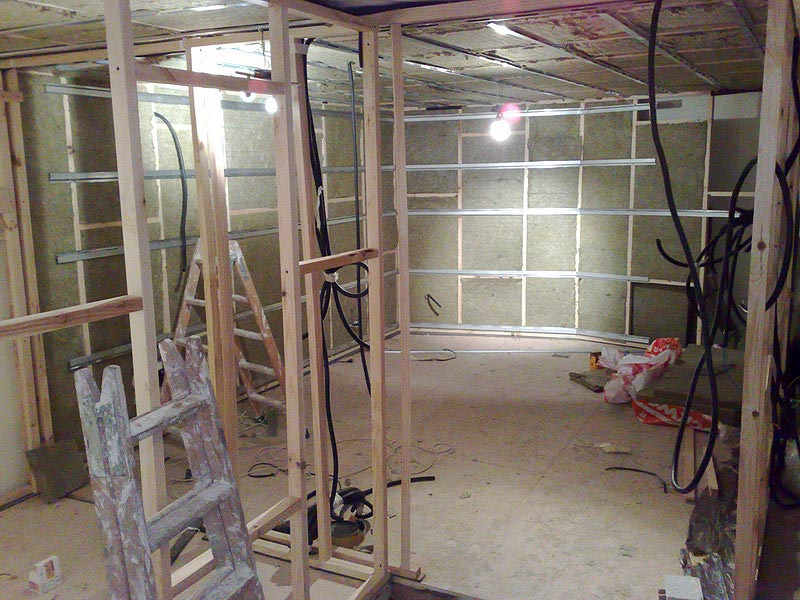
In the afternoon the electrician came and started to put the main power wire through the pipe.
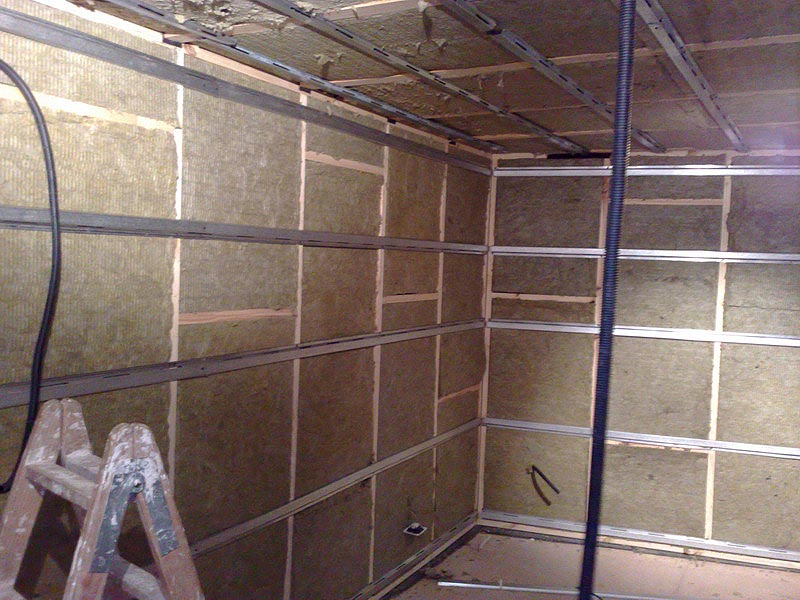
Pepe is keeping a good pace and half of the walls are almost ready.
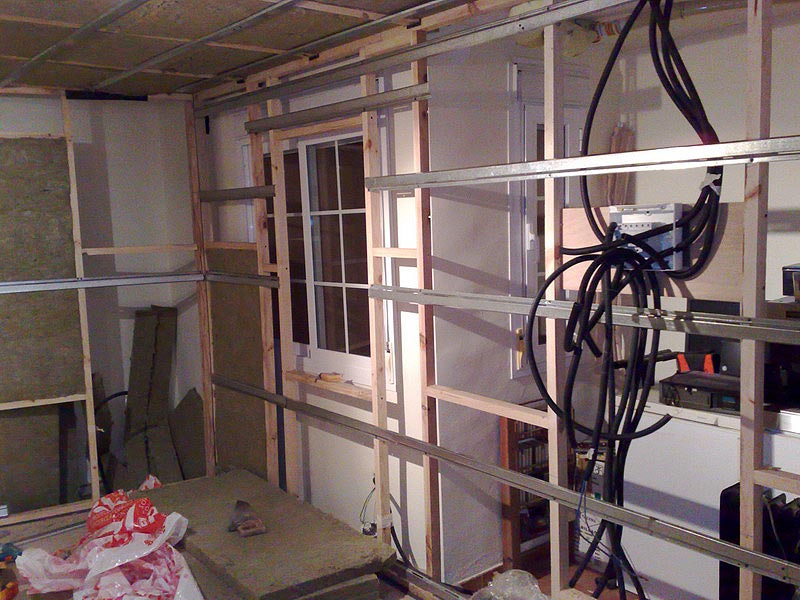
The electrical box is allocated but not yet fixed to it's final location.
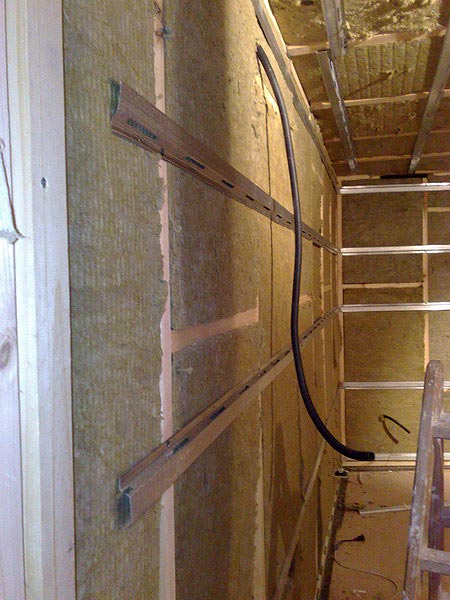
Detail of the resilient channels.
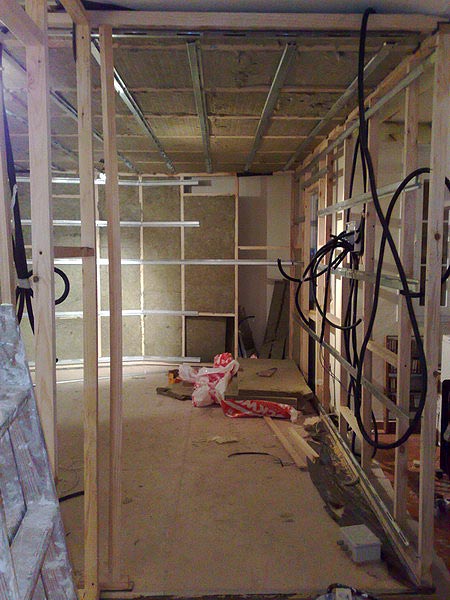
There is still left one of the side walls, the one that holds the window.
DAY 12 Wednesday, Dec 17, 2008
The AC machine is one day late. In the meantime Pepe keeps the pace of the work finishing the vocal boot rockwool and resilient channels.
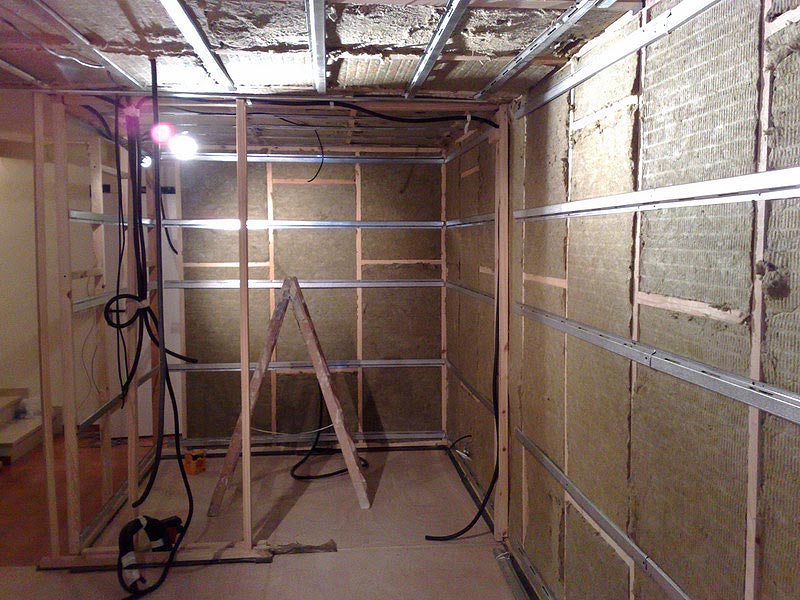 The external wall of the vocal boot will be closed up with a double layer of mineral fiber and gypsum panels.
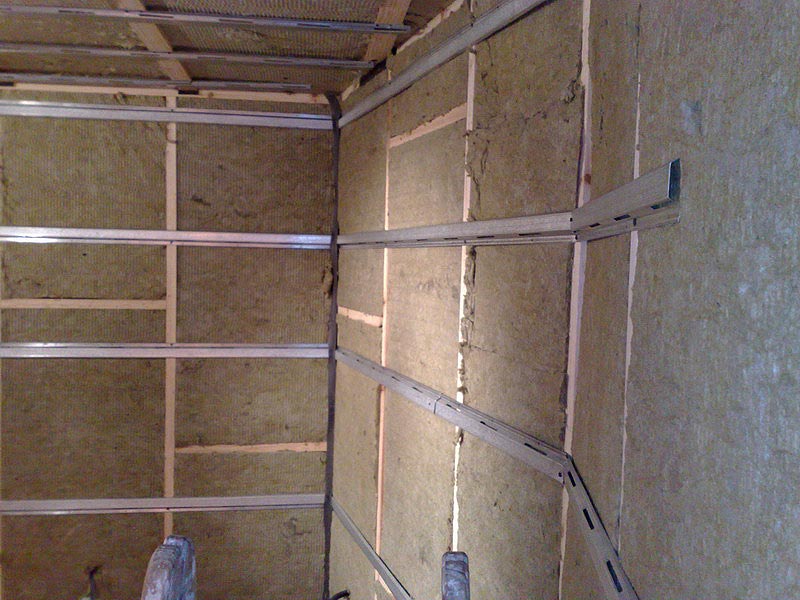 Resilient channels fixing detail.
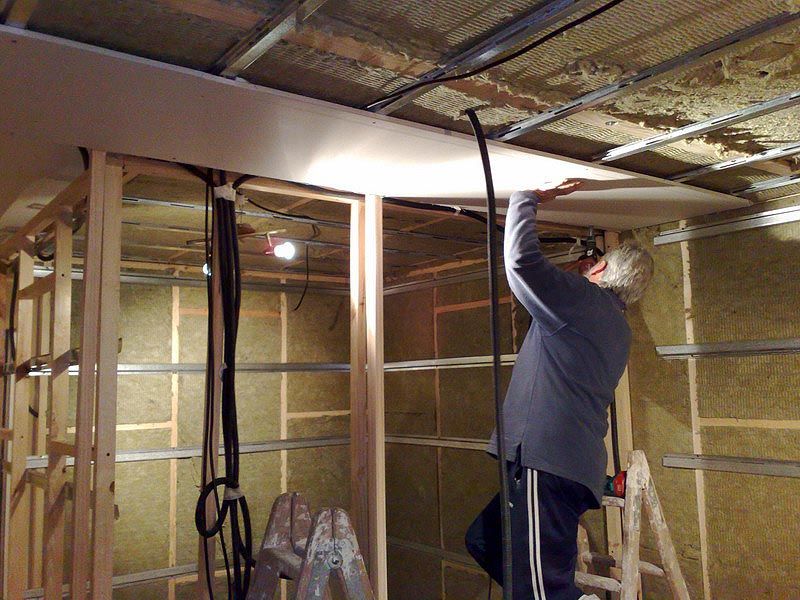 First gypsum panel of the ceiling.
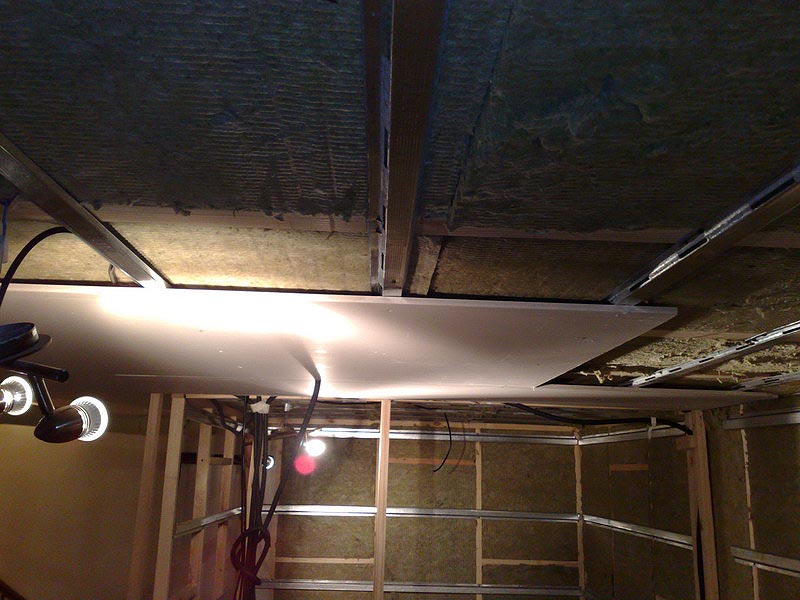 Ceiling installation detail.
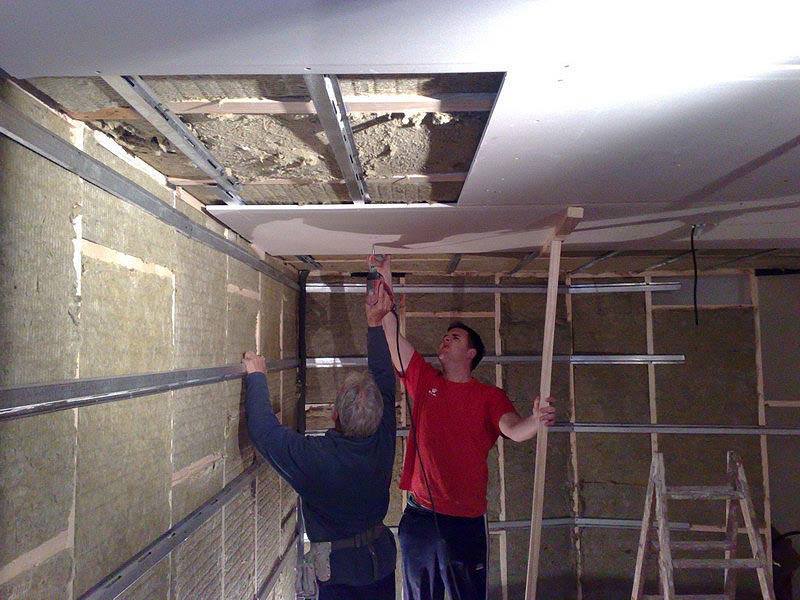 Dani Limón helps Pepe to fix the panels.
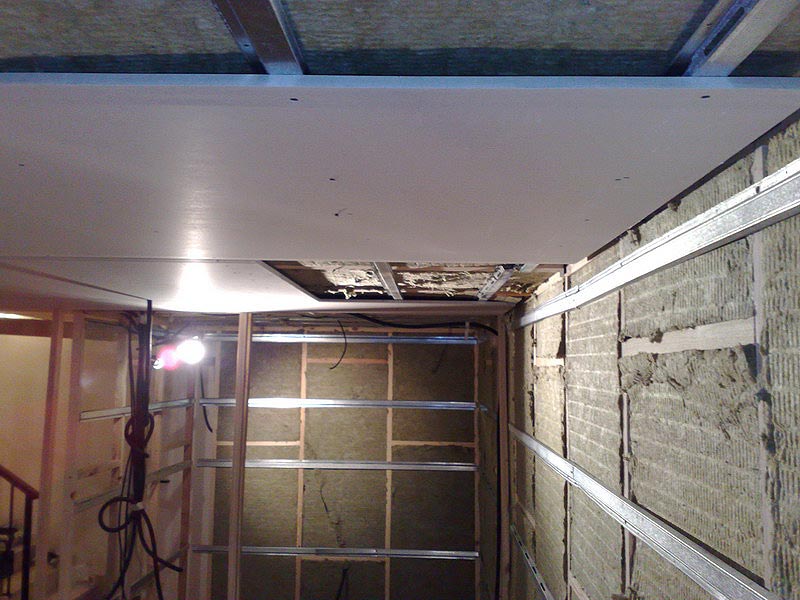 The first gypsum layer of the control room ceiling comes up fast.
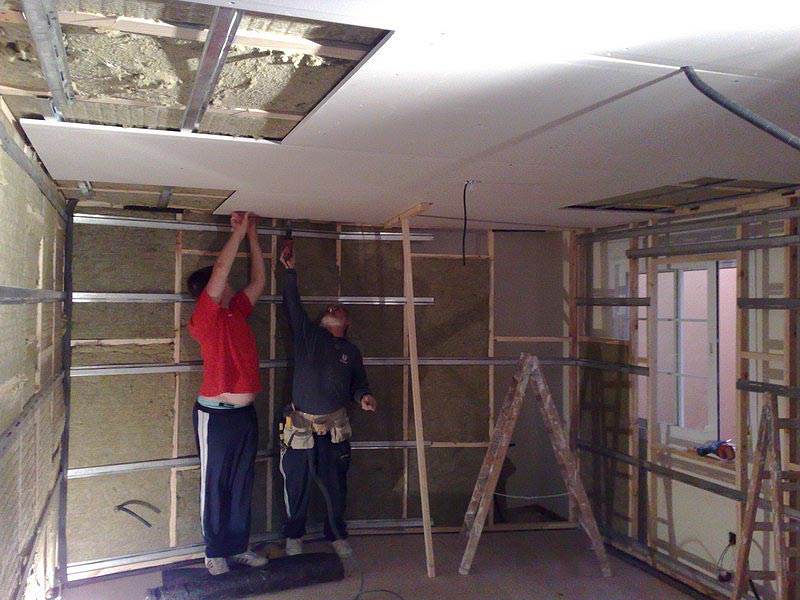 Pepe made a 'T-pole' that helps keep the panel in place until it is fixed with screws.
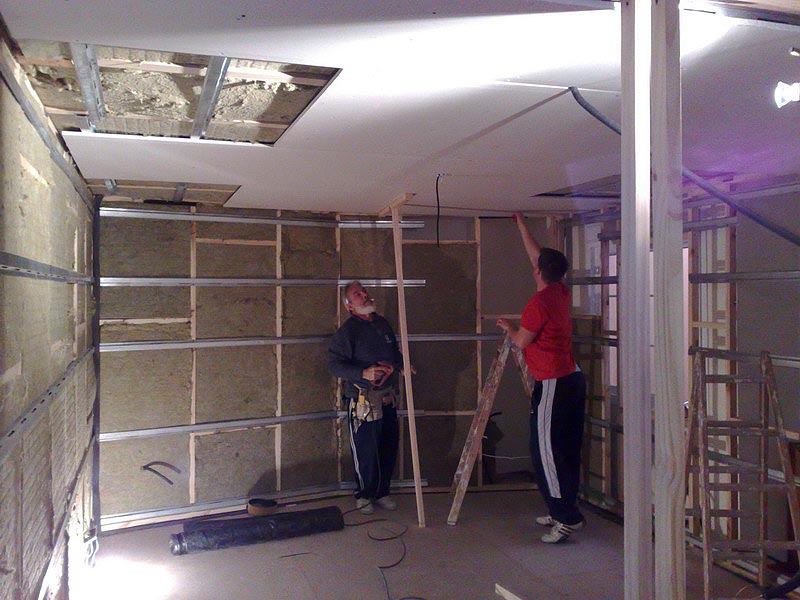 Control room ceiling first layer almost ready.
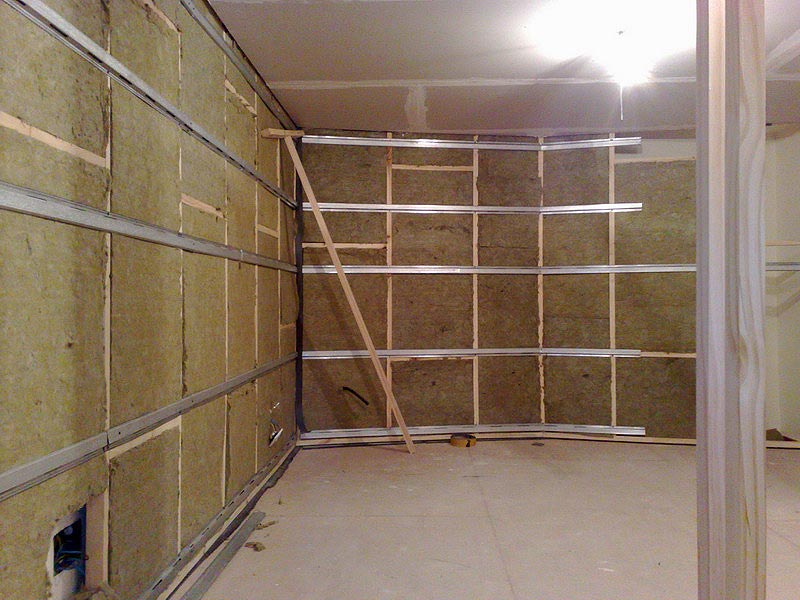 At the end of the afternoon both control room and vocal boot first layer ceilings are done.
Tonight, Ramiro Barés, a very talented drummer and a friend, came to visit the place. We was discussing if we would be able to place his new Roland Vdrum kit in the tiny vocal boot. We both agreed that it will fit nicely in there.
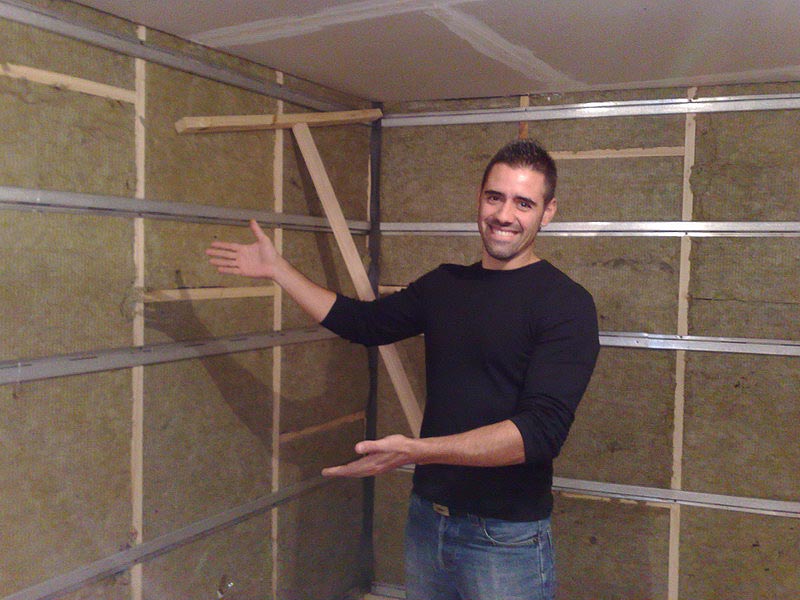 Ramiro came to visit the place and was very impressed by the construction work Pepe is doing.
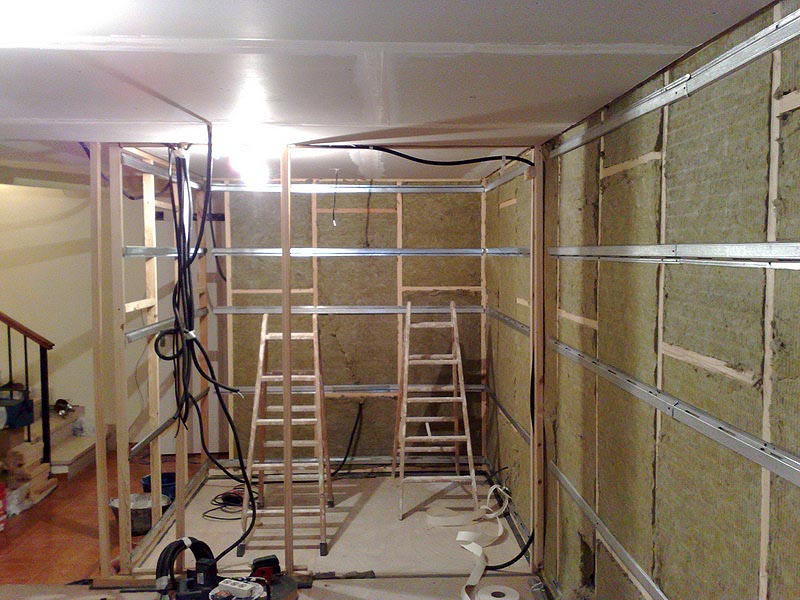 The vocal booth ceiling first layer was also done the same afternoon.
DAY 13 Tuesday, Dec 18, 2008
Today we started to place gypsum panels on the walls. The first layer was really quickly placed.
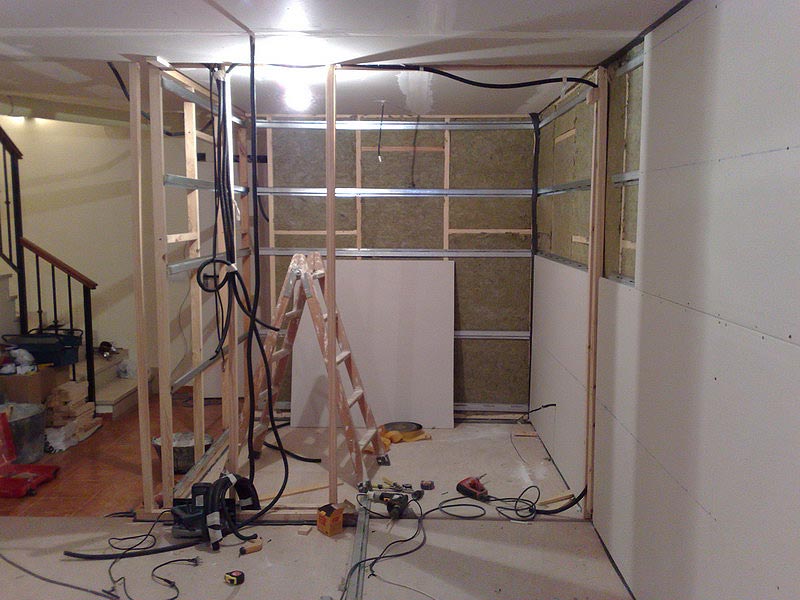
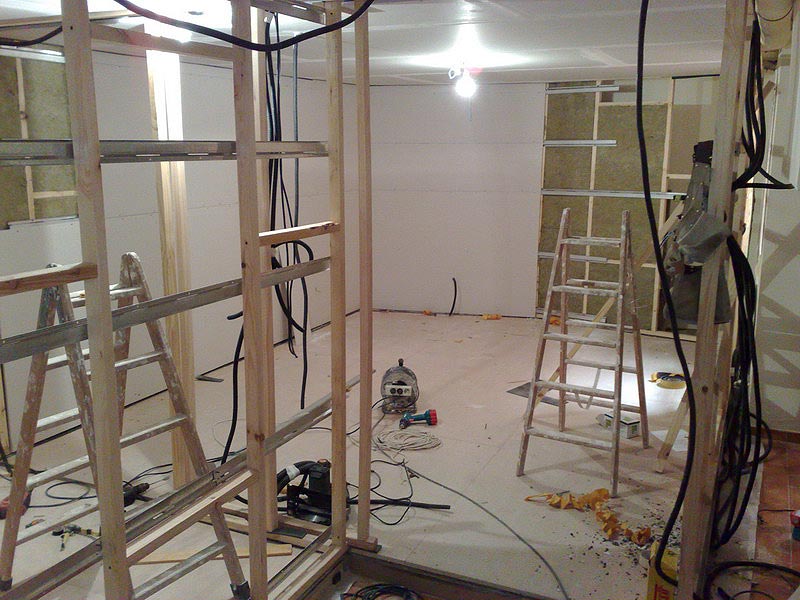
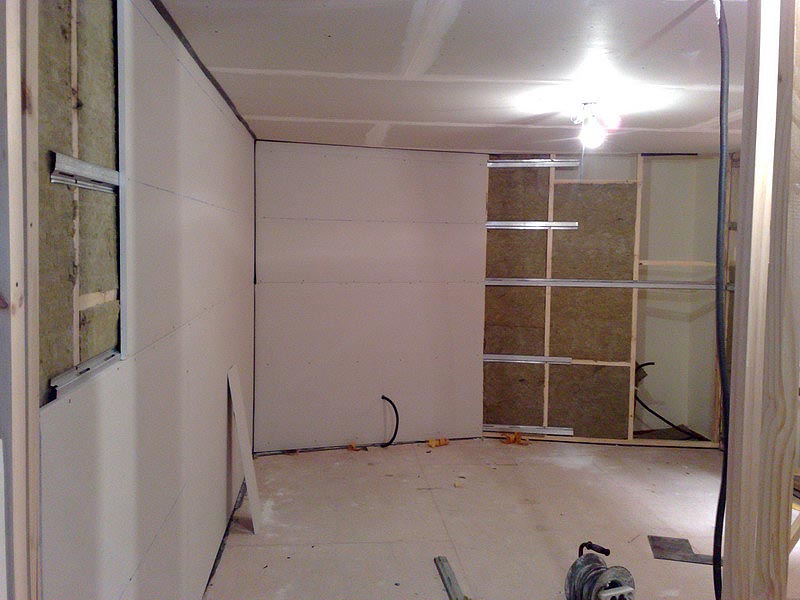
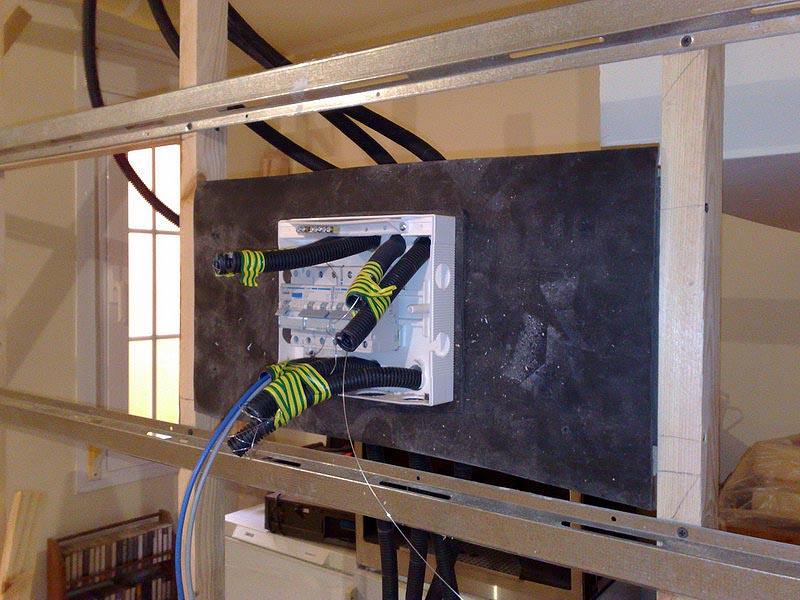 The electrical box finally fixed to the right position. All piping is also tied together.
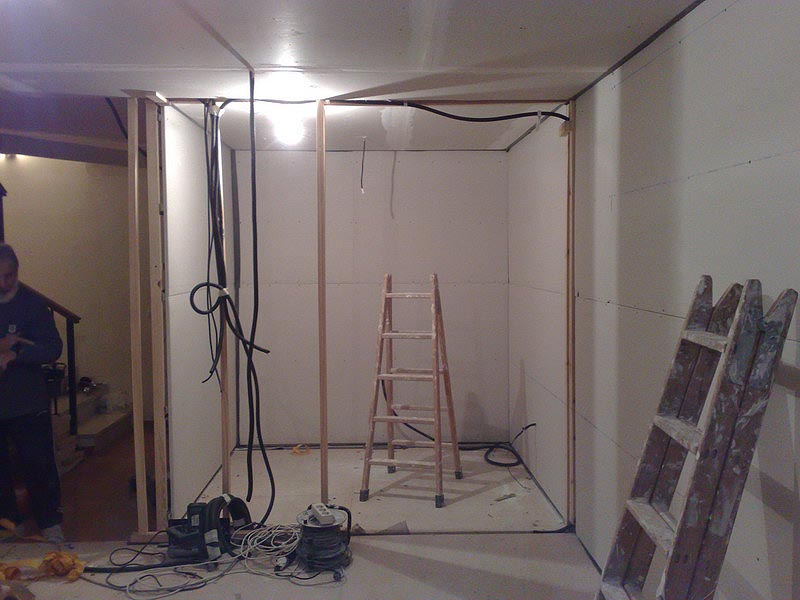 Vocal boot ceiling and walls first gypsum layer ready!
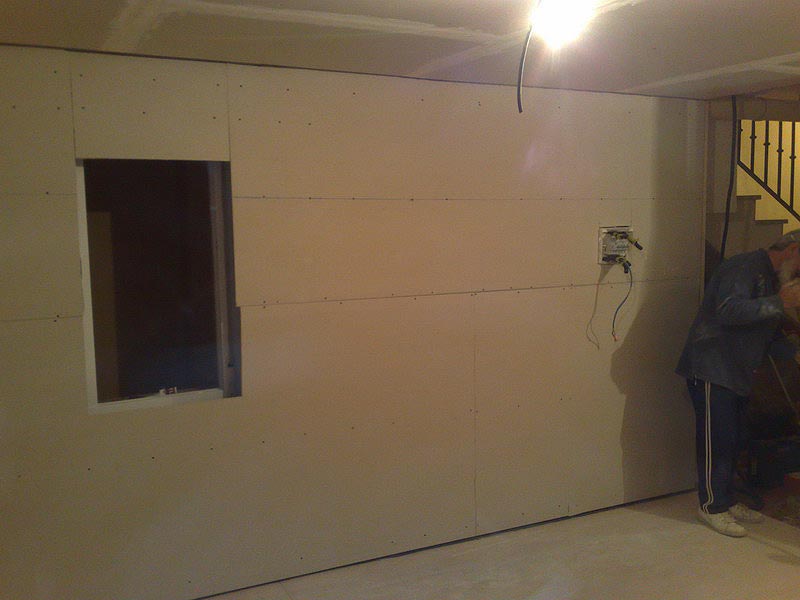 The wall where the window and the electrical box first gypsum layer ready.
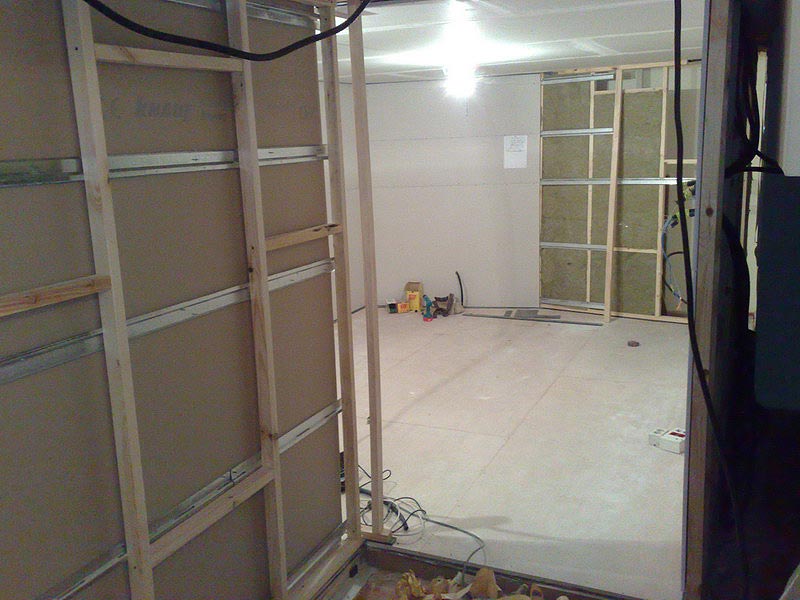 This external wall has not yet received the rockwool panels yet.
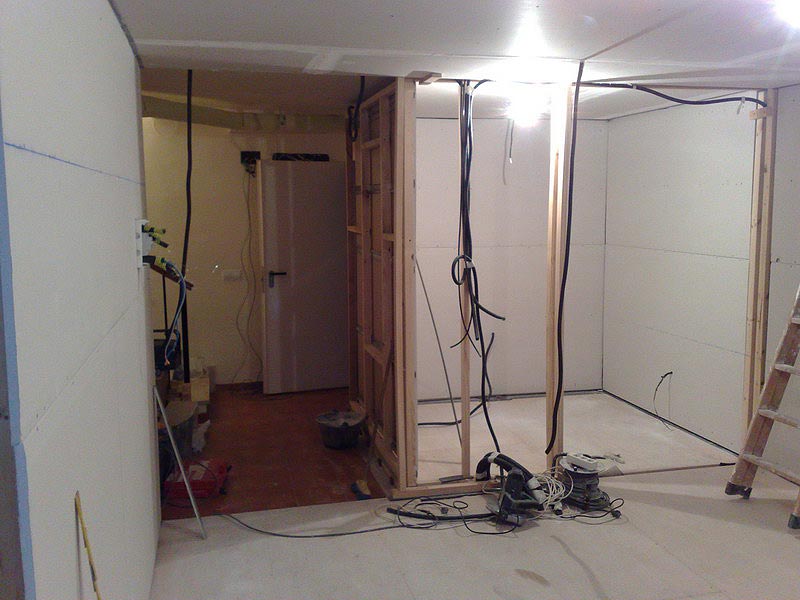 I'm still waiting for the door to arrive. They will be here at the beginning of the next week.
DAY 14 Friday, Dec 19, 2008
As the doors wall can't be done until the doors arrive Pepe decided to start fixing the sound barrier and the second gypsum layer on the ceilings.
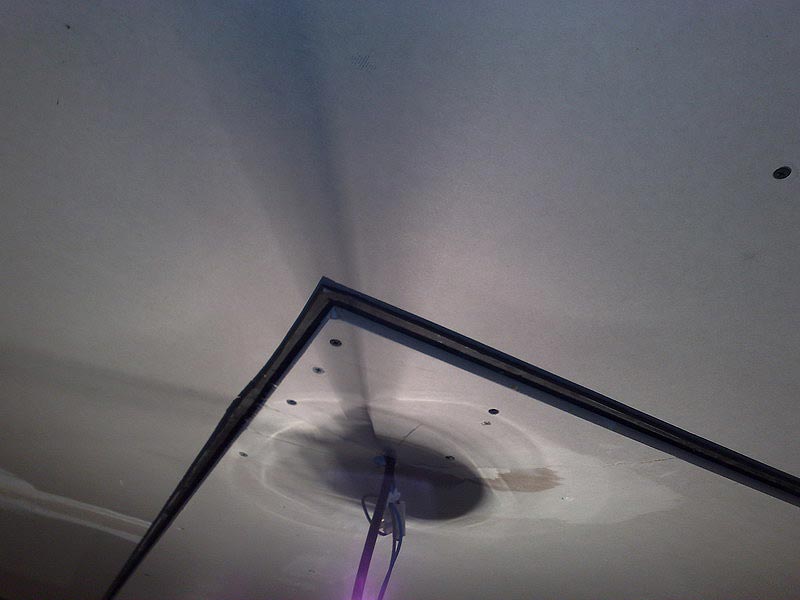 Sheet Blok layer in between both gypsum layer (Detail).
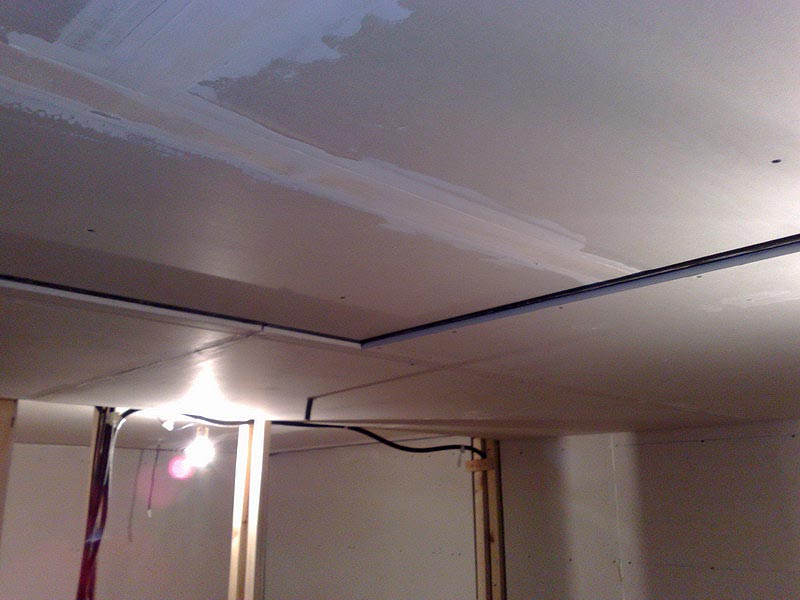 Surprisingly, the ceiling has become much more solid and sound absorbent after this new layers.
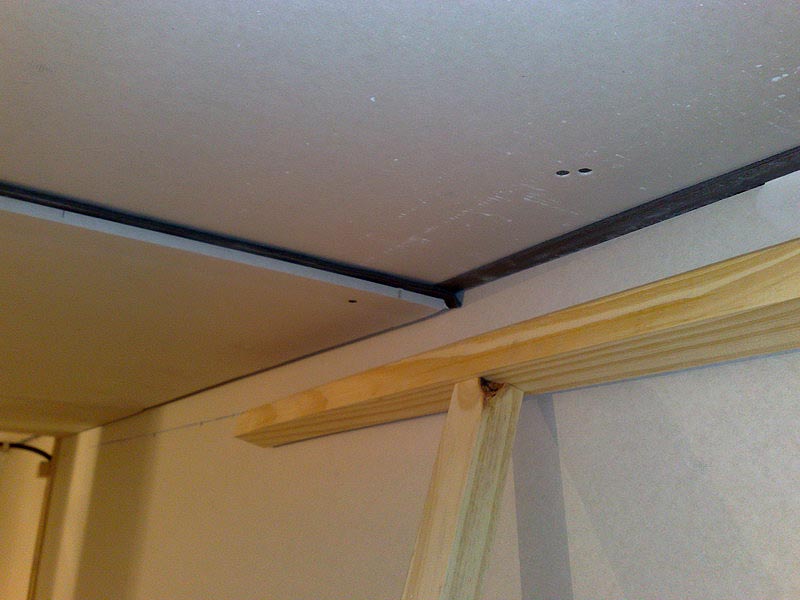 Another detail how the ceiling sound barrier meets the wall sound barrier layer.
Pepe plans to come tomorrow on Saturday morning to finalize and plaster the ceilings.
DAY 15 and 16 Monday, 22 Dec, 2008 & Tuesday 23 Dec, 2008.
All the ceilings have been finished with the second layer of gypsum and sound barrier. The plaster has also been put in the ceilings.
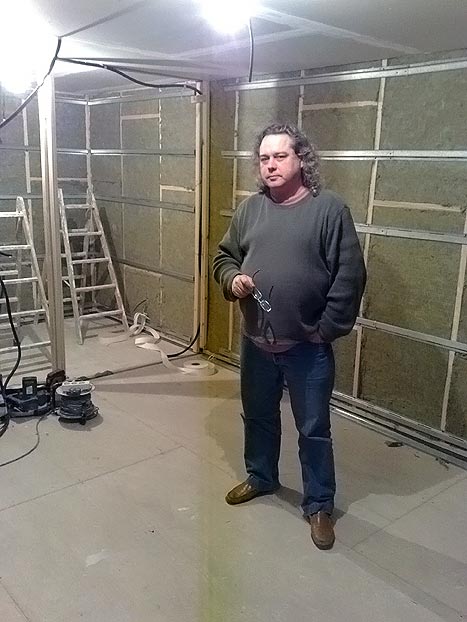
This is my first photo in the studio.
We have started to place the second layer on the walls. The sound barrier layer is quite heavy so it needs to be stapled while the gypsum panel comes on.
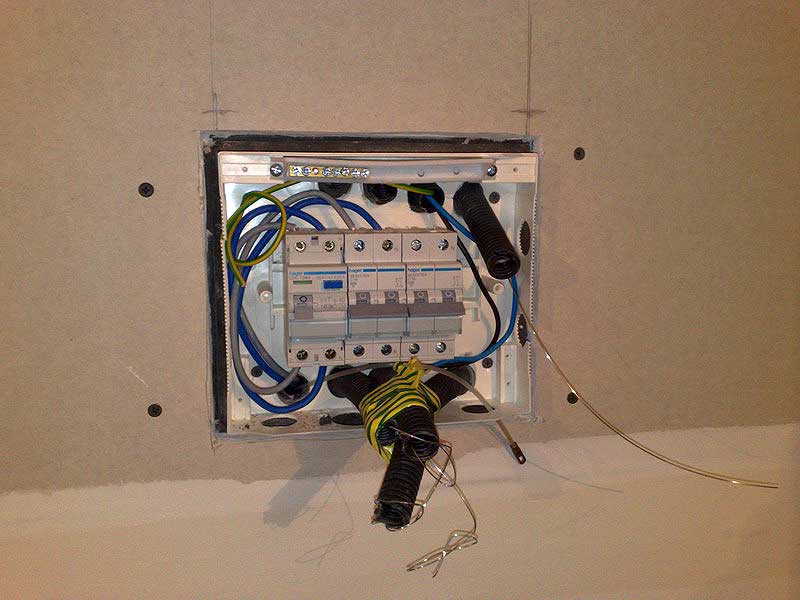 The electrical box after the first layer of gypsum.
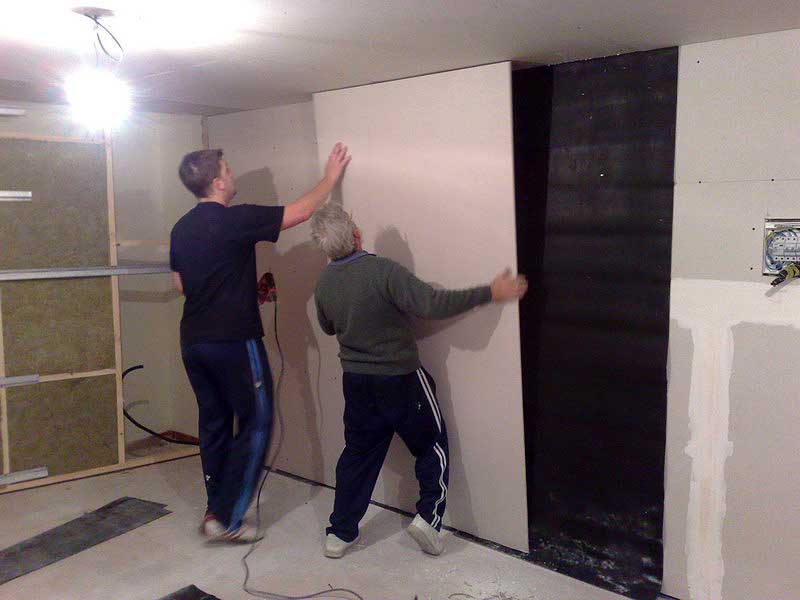
Pepe and Dani placing a gypsum panel over the previously stapled sheetblok layer.
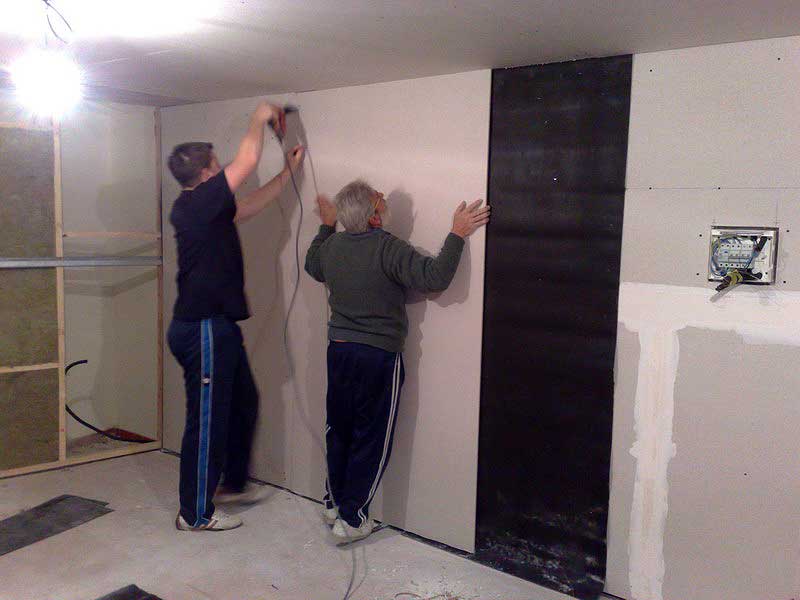
Fixing the gypsum over the sound barrier layer.
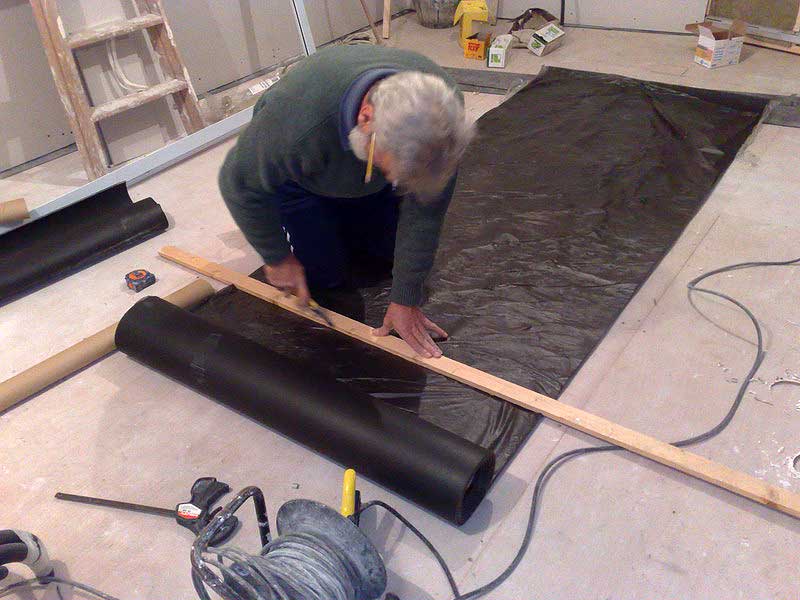
Cutting the Sheetblok.
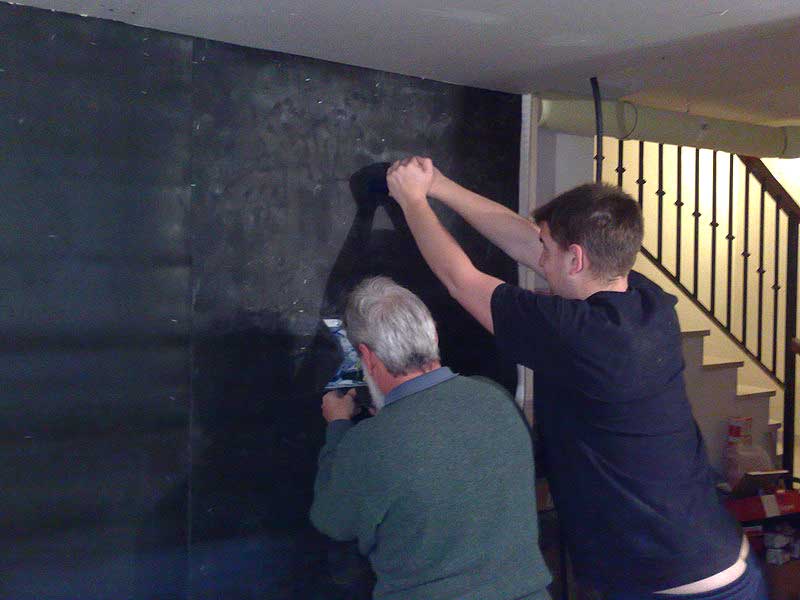
Stapling the sound barrier and feeing up the electrical box.
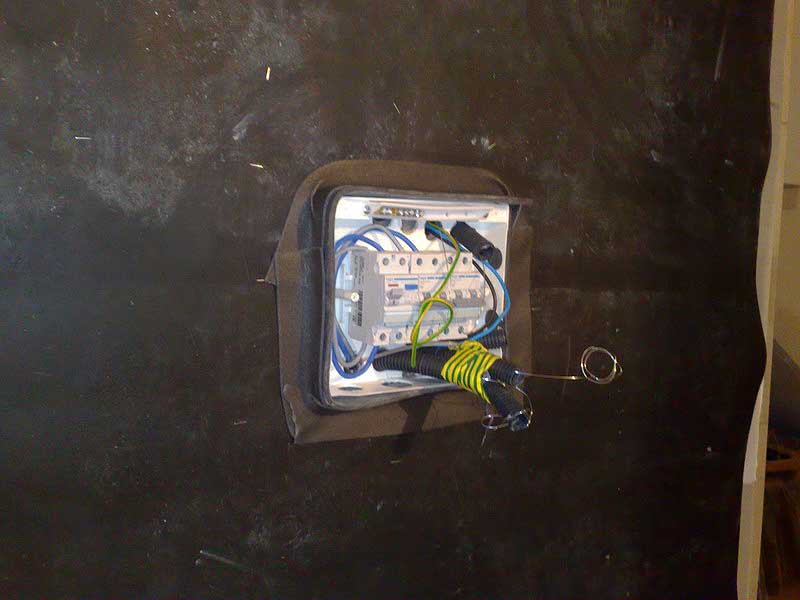
The electrical box sound isolated and fixed.
DAY 17 Wednesday, 24 Dec, 2008
Almost all the walls have been finished. There are still left the two walls that divides the control room and the vocal boot. Those are still waiting for the entrance door and the aluminum glass door to arrive. Also I need to place my big table inside the studio before we install the entrance door. It is so long so it will not be possible to bring it in after the entrance door is placed.
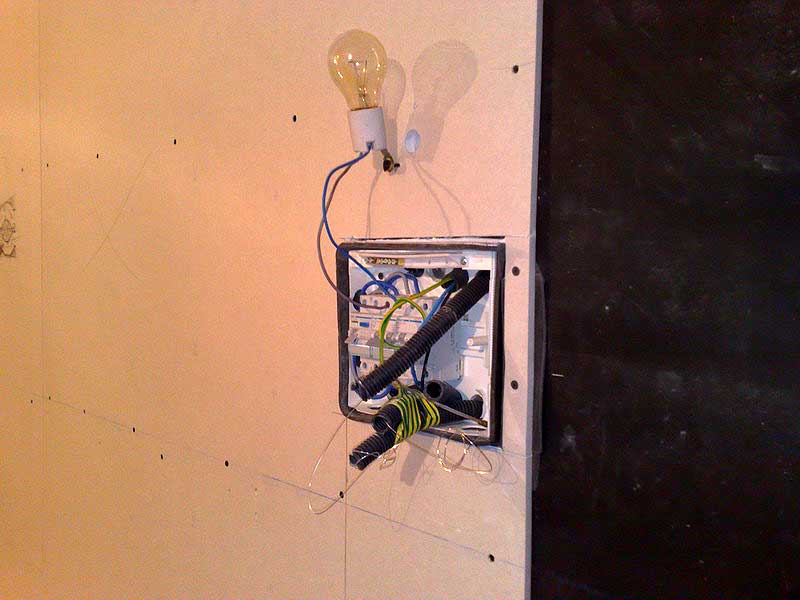
The electrical box after the second gypsum layer has been placed. Pepe improvised a lamp on it!
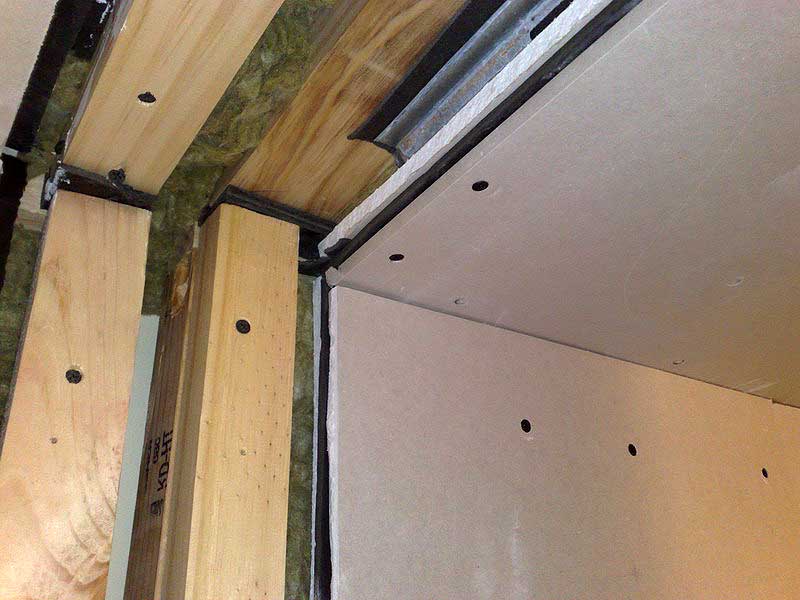
Ceiling and wall meeting detail.
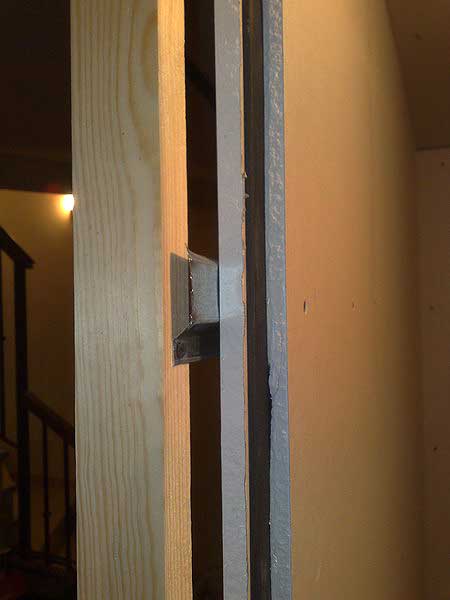
Wall layers detail.
DAY 18 Friday, 26 Dec, 2008
The AC machine has arrived! I ordered a Fujitsu super silent unit.
This machine is not supposed to be installed with air ducting so Floren, the AC technician, is going to modify the machine so we can get the air in and out through the ducting.
The AV is being installed in the light-well of the basement. We have made a supporting platform into the light-well to hold the machine.
A hole in the wall will let the pipes come through.
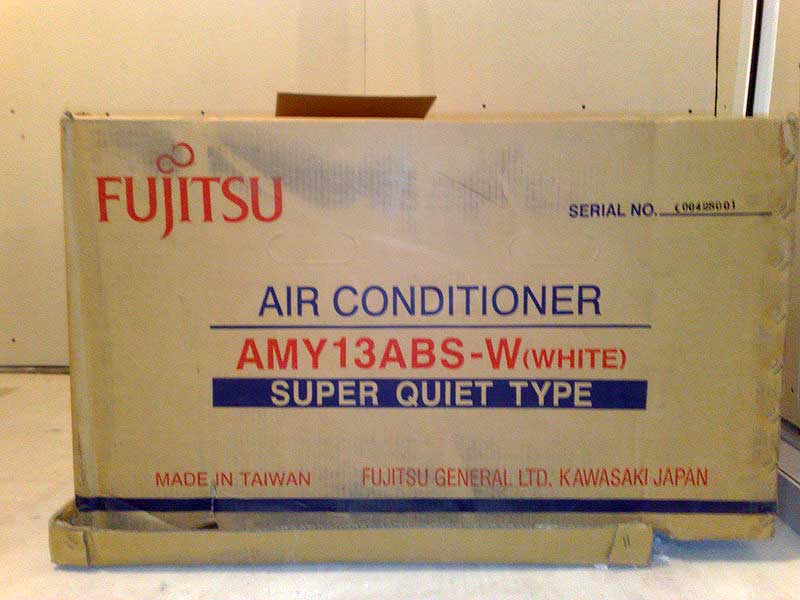
The Fujitsu AC machine in the box.
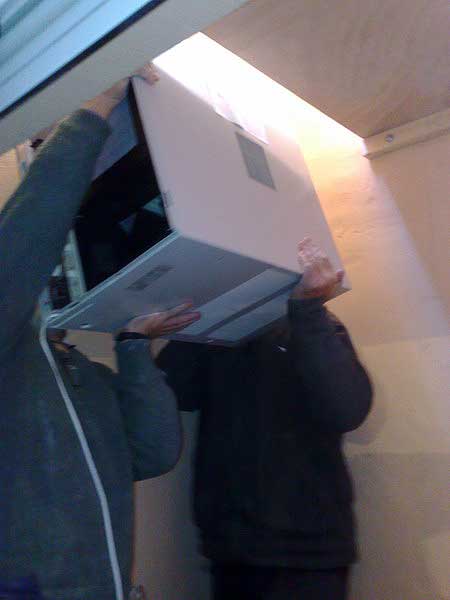
Pepe and Floren pushing up the AC machine to the platform.
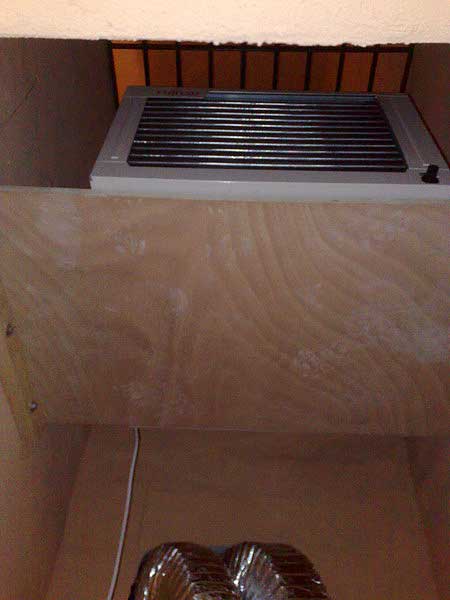
The AC on the platform and the two pipes coming form the studio. The adapting work needed to connect the pipes to the machine is not done yet.
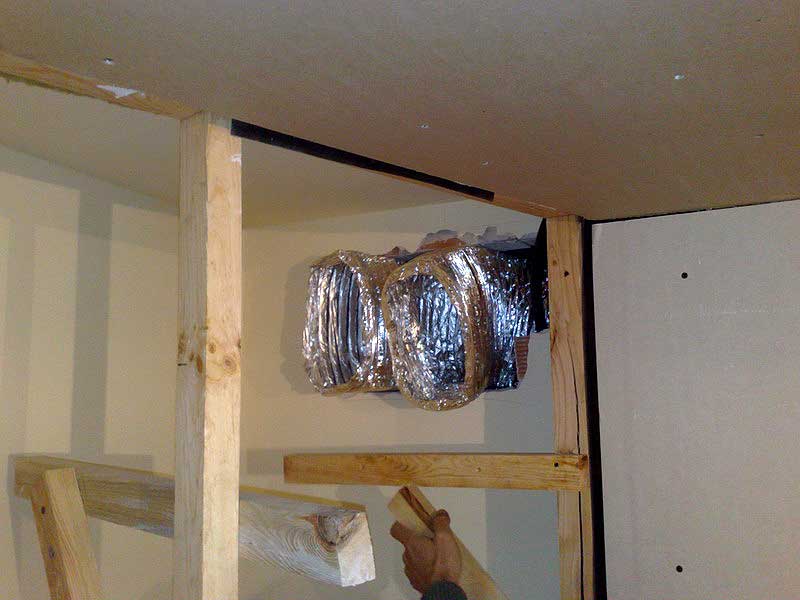
At the studio side the pipes just placed in the hole. Pepe is making a support for the sound filters.
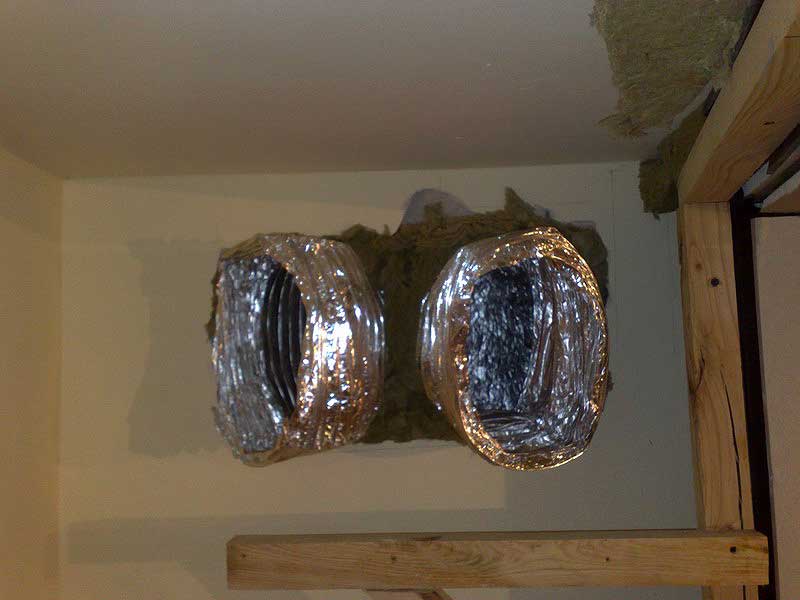
The pipes gets sound isolation against the wall.
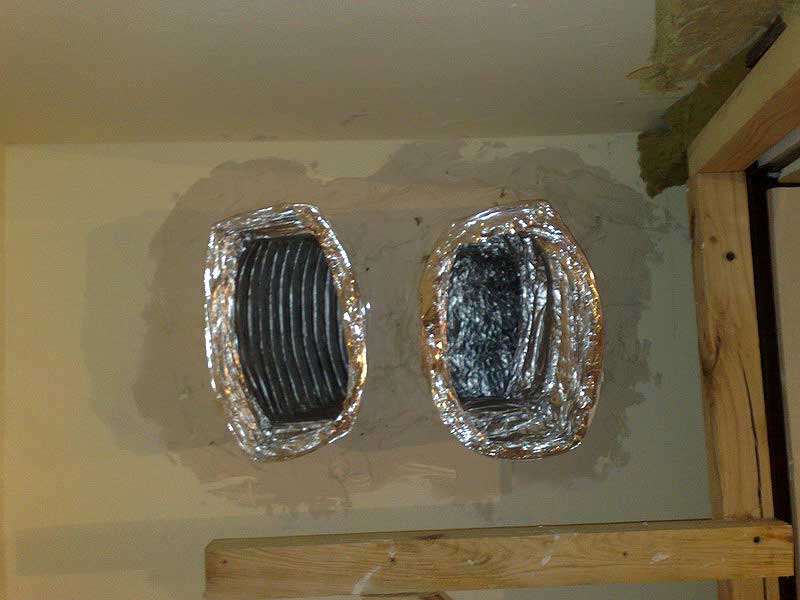
And the pipes fixed with plaster.
DAY 19 Saturday, 27 Dec, 2008
In the morning Pepe started to build the sound filters for the AC ducting. Those boxes will have extra insulation inside to avoid the sound to get out from the studio and also to reduce the AC machine noise.
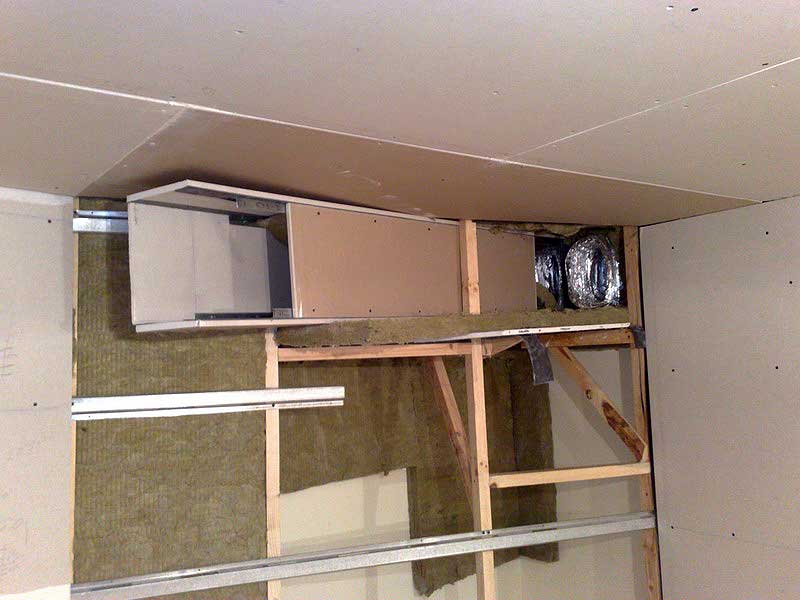
The outgoing sound filter is placed and fixed to one of the pipes in the wall.
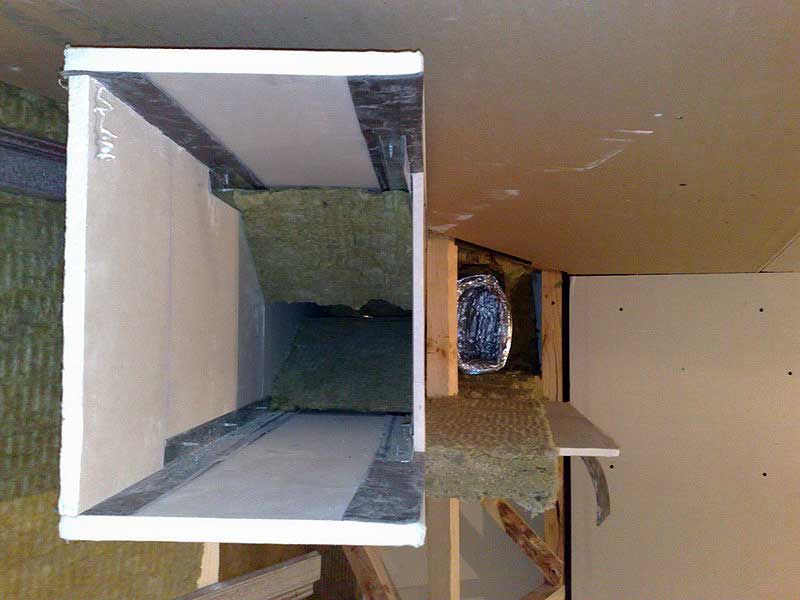
This is how the sound filter looks inside. The second filter will be done next Monday.
In the afternoon I got help from Curro Mullet, bass player, composer, producer and arranger, and a very good fried of me, who also is a professional painter. I needed to get my old table painted in black and he offered himself to do it.
We borrowed the courtyard of my new neighbors, Gonzalo and Susan. Gonzalo happens to be the drummer of my band and also nice friend. Thanks for the place to do the painting of the table guys!
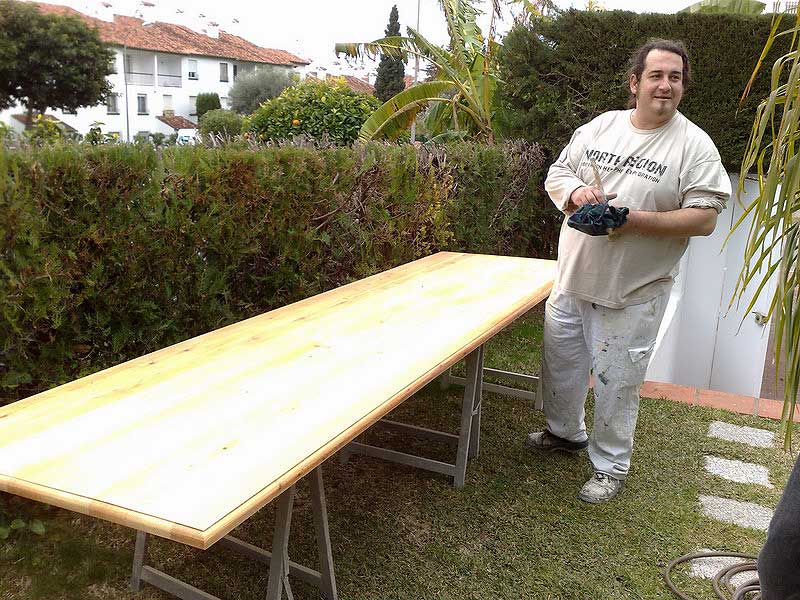
Curro sanding down and preparing the table to receive the paint.
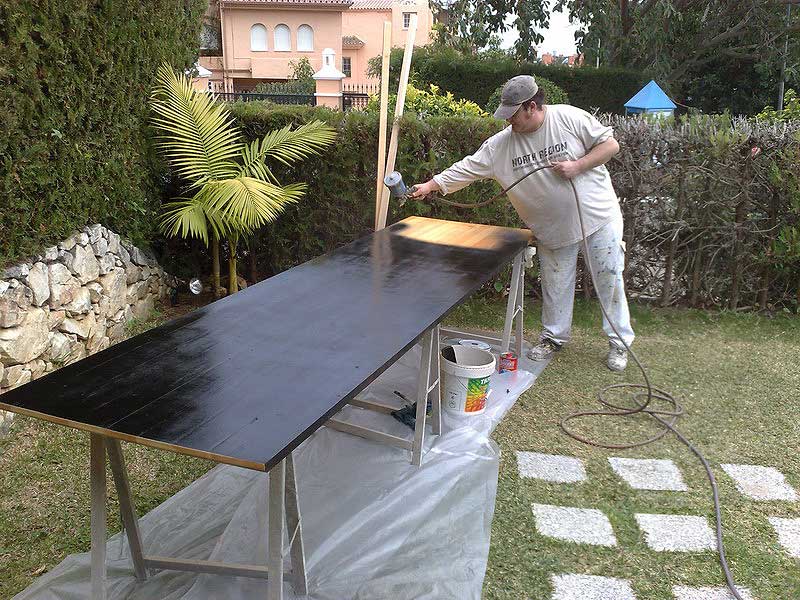
Curro finishing the bottom side of the table.
Tomorrow we will do the top side. It has been announced rain this weekend so it can happen the work gets ruined over the night. Lest hope it do not rain tonight while we wait for the bottom side to dry...
DAY 20 Sunday, 28 Dec, 2008
Unfortunately it rained over he night and the table was not in good shape. We decided to take it back to the garage and let it dry some days so it can be sanded down again.
We will have another try next weekend, but this time we have to to the work inside the studio. That is because the table has to be in the studio before the main door is installed... and this will happen next week (hopefully). The table is so long that there is no way to bring it into the studio once the entrance door is placed.
DAY 21 Monday, 29 Dec, 2008
On Monday Pepe began to do the walls that divides the control room from the vocal boot. Is is a very complicated work to be properly done so he spent a whole day to do on of the sides where the aluminum glass door will be fitted.
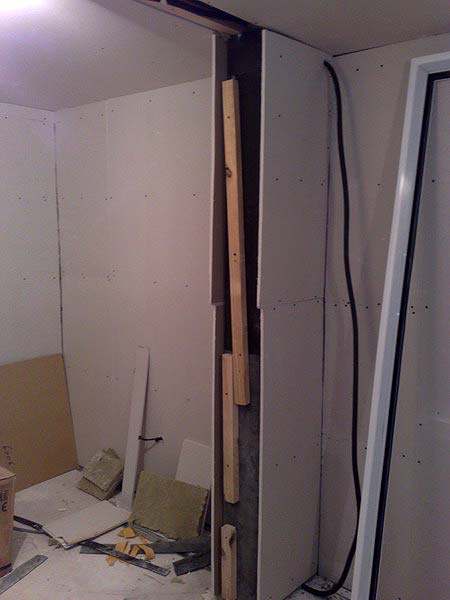
DAY 22 Tuesday, 29 Dec, 2008
Almost all the walls have been plastered and are ready for painting. We also placed the frame of the glass door to verify it will fit right.
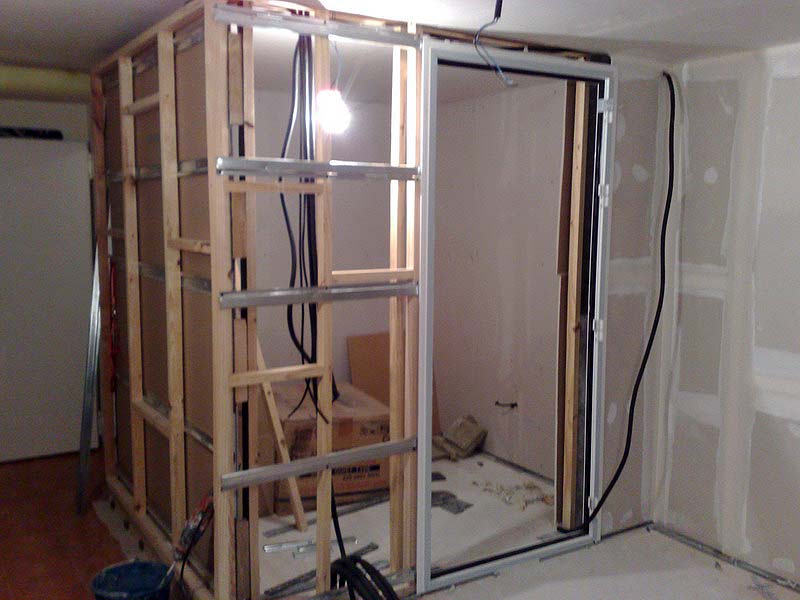
Just checking that the frame of the aluminum glass door door will fit properly.
DAY 23 Wednesday, 31 Dec, 2008
We decided that it would be better to finalize the ducting before the walls that divides the rooms. That way we can get some work done before the table is repainted. Once the table is inside and painted we can keep on the dividing wall and the placement of the mind entrance door.
Pepe completed the construction of the incoming air sound filter and fixed it to the pipes.
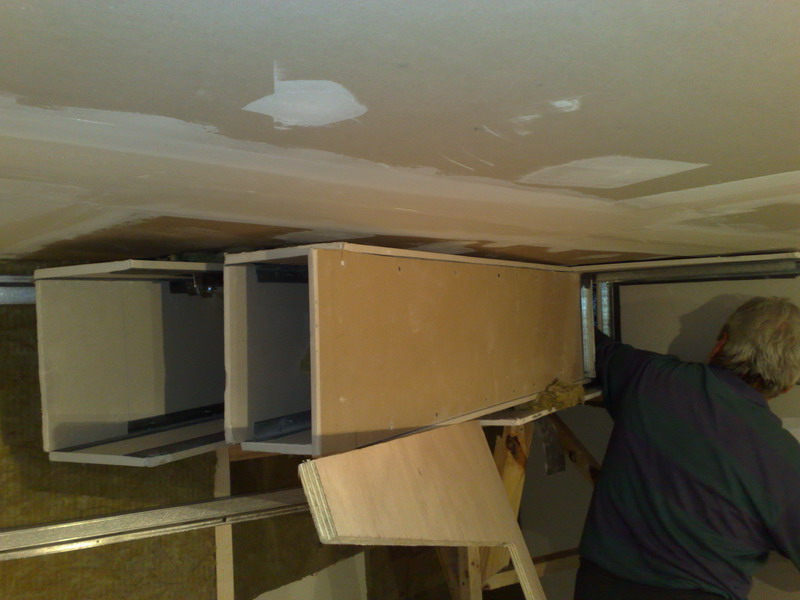
Pepe fixing the pipes inside the second sound filter.
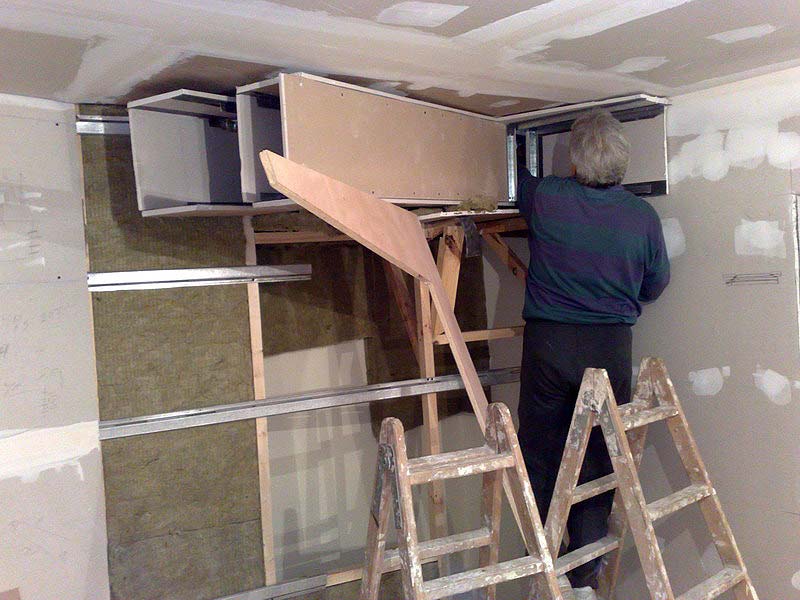
The second sound filter is provisionally hold with some wood pieces.
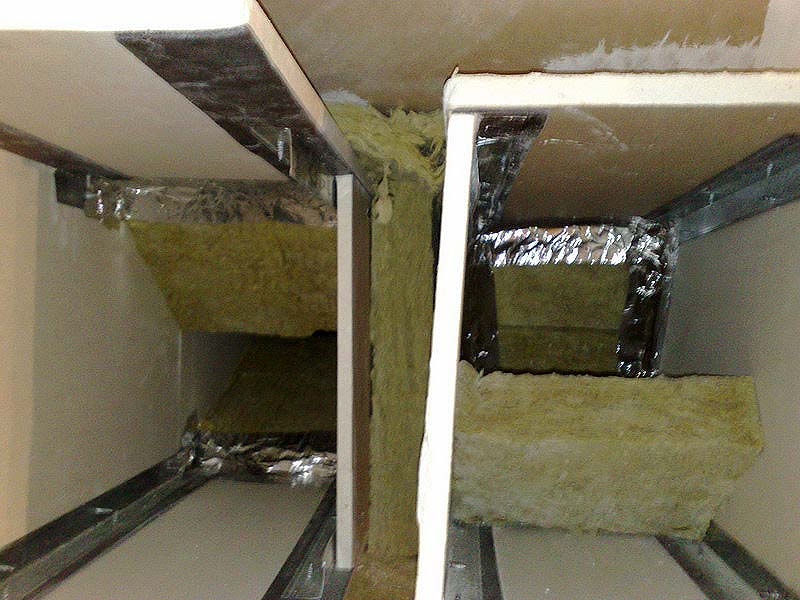
This is how the sound filters looks inside.
DAY 24 Friday, 2 Jan, 2009
We placed the table inside the studio and proceeded to do the painting. Also the two rack supporting units and the drawers got painted the same day.
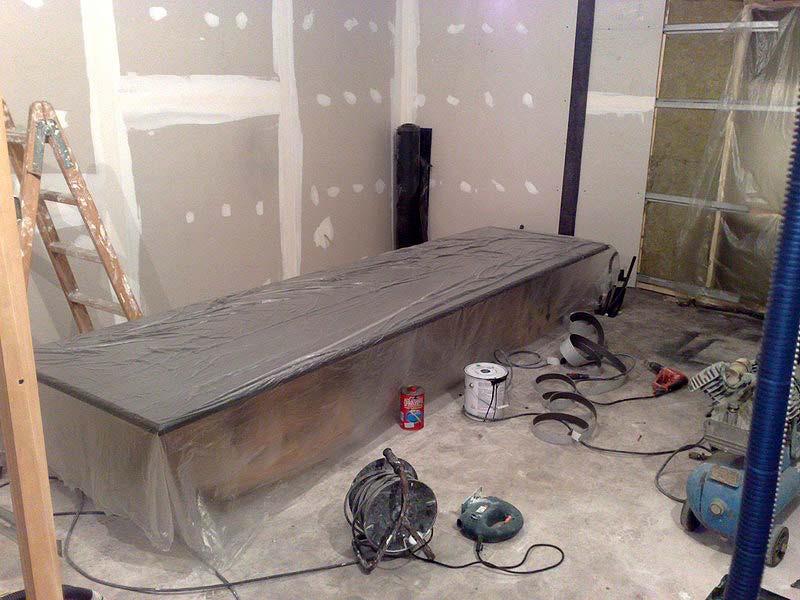
Table painted and covered to avoid any damage.
DAY 25 Saturday, 3 Jan, 2009
We started to do the AC ducting. Two holes were done to get the air in and out for the vocal boot. Some railing was placed to hold the panels that will house the pipes.
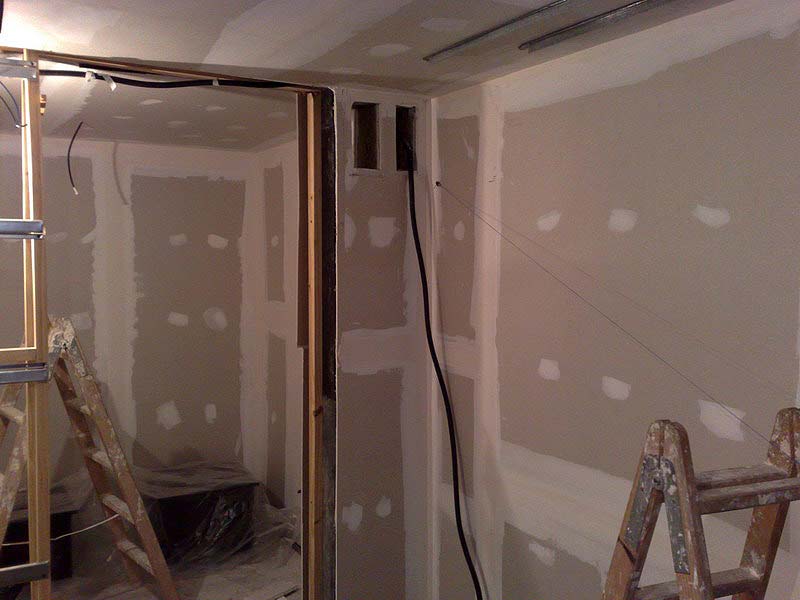
The two holes to let the air through.
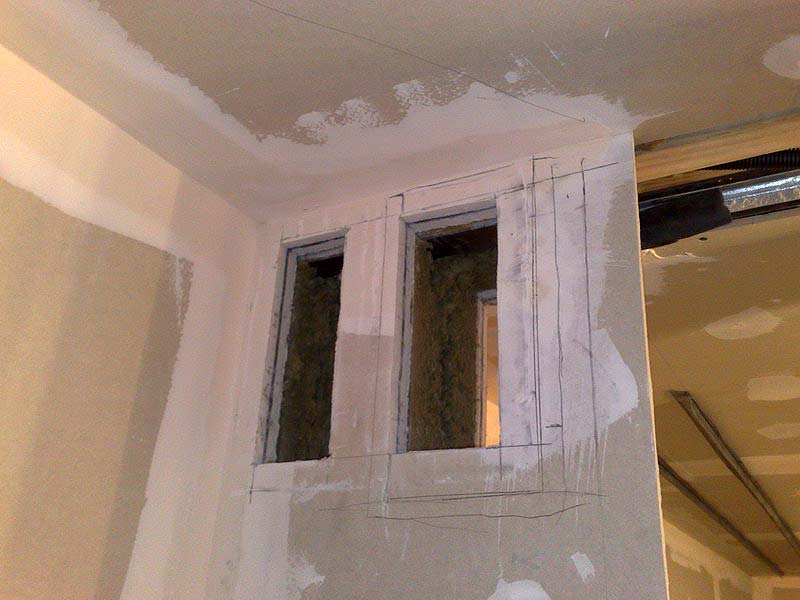
The same holes from inside the vocal boot.
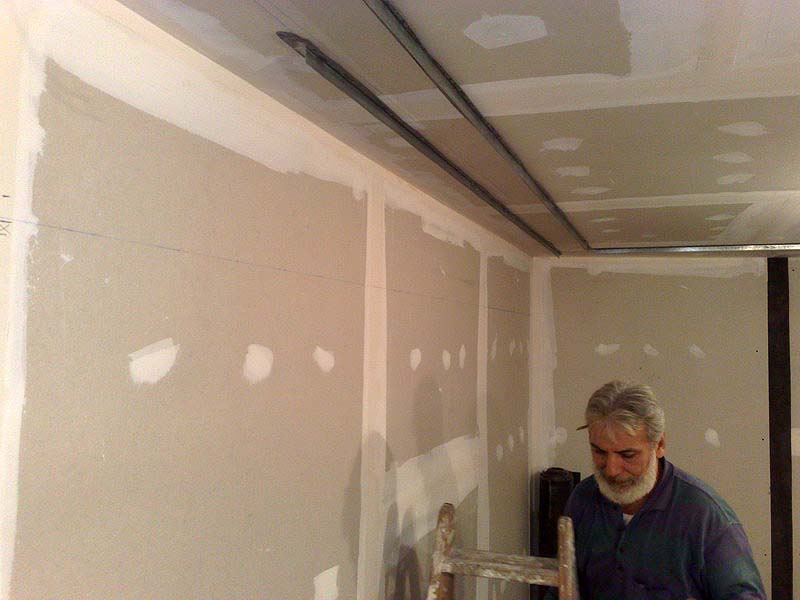
First rails attached to the ceiling.
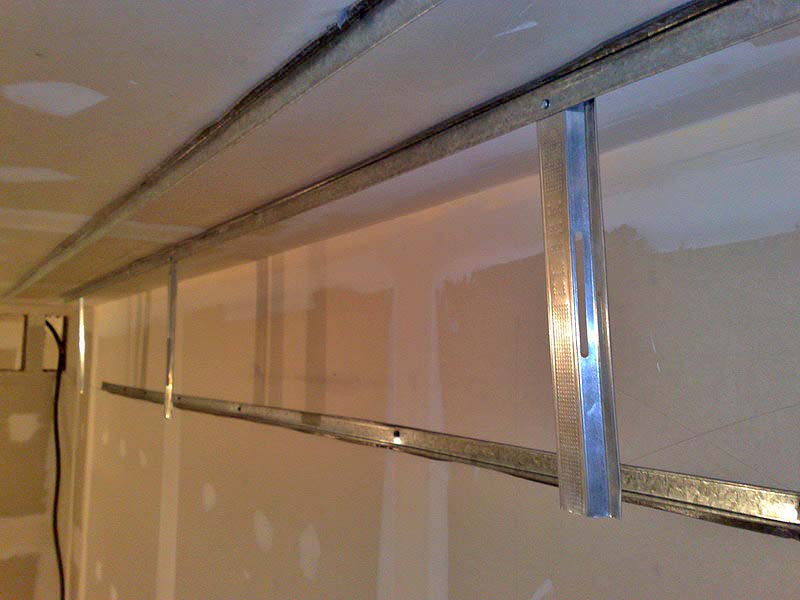
Ducting construction sequence: 1) Vertical pieces to hold the bottom panel.
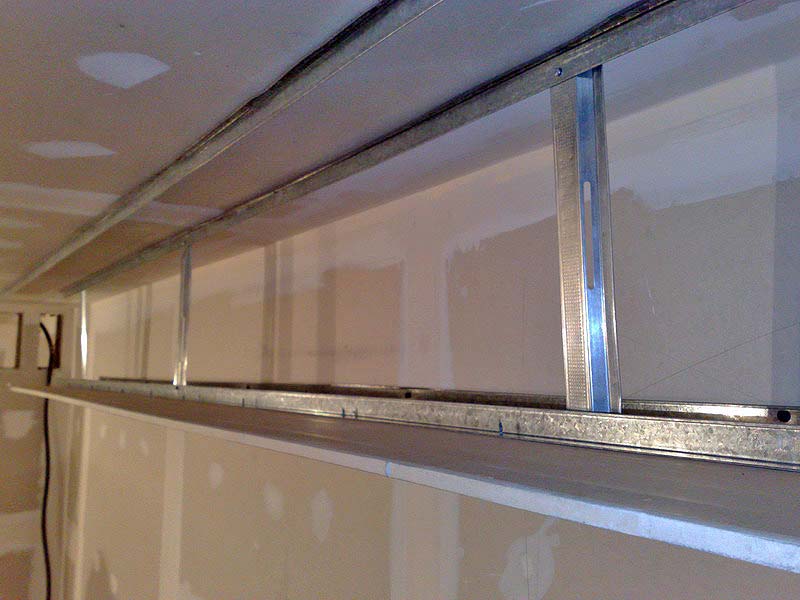
Ducting construction sequence: 2) Bottom panel fixed.
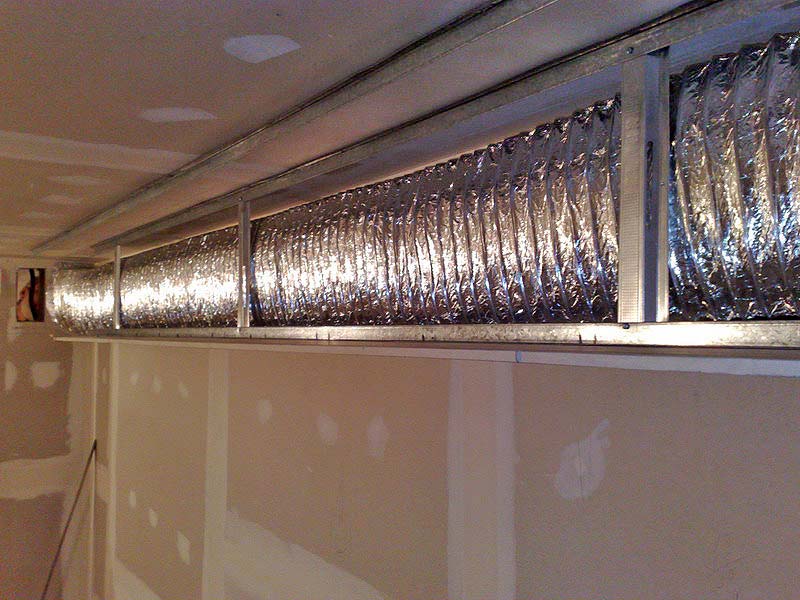
Ducting construction sequence: 3) Outgoing pipe placed behind the vertical supporting pieces.
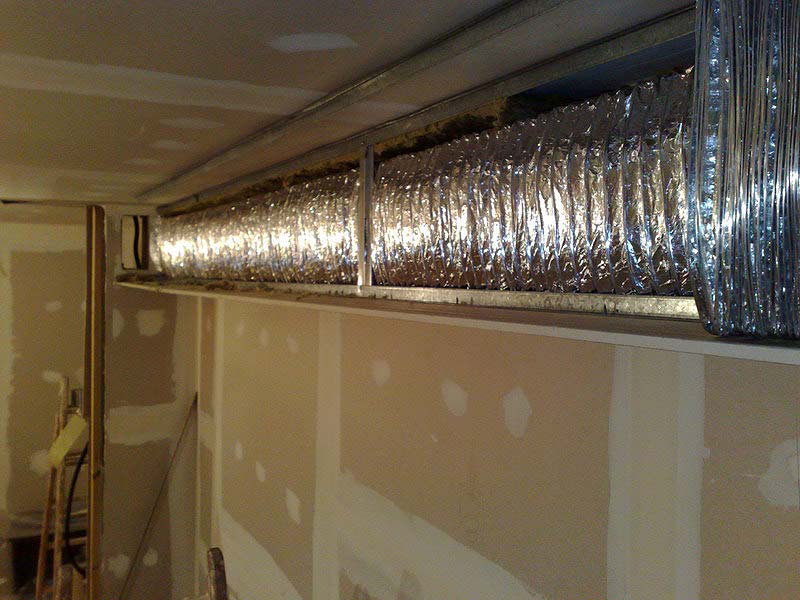
Ducting construction sequence: 4) Pipe covered and surrounded with rockwool.
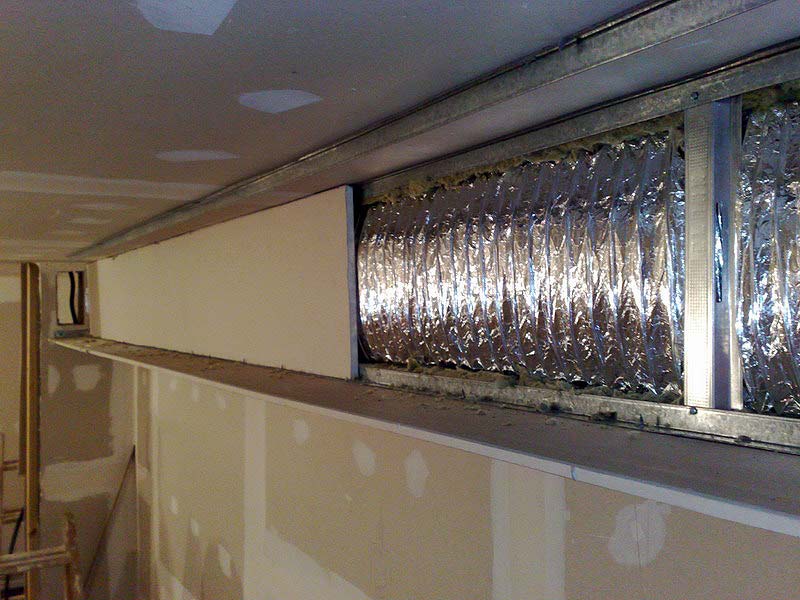
Ducting construction sequence: 5) The panel that divides the pipes get fixed.
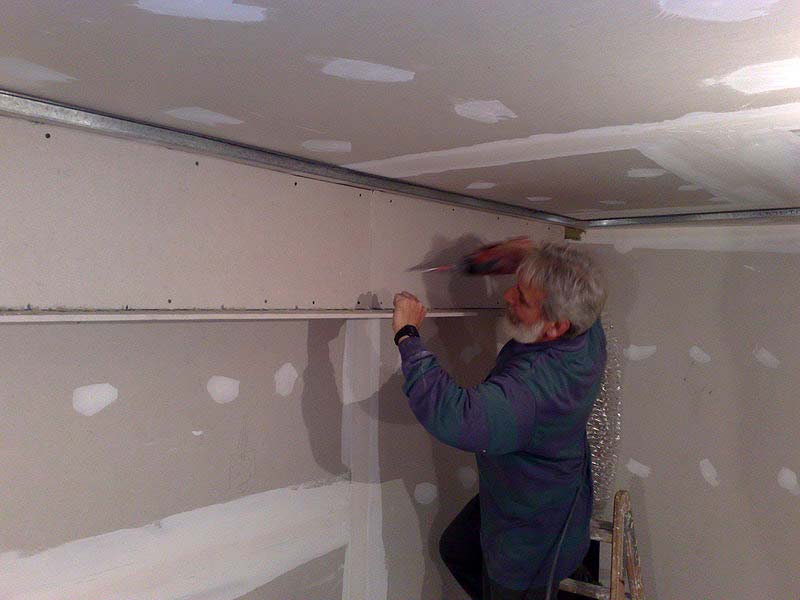
Pepe fixing the last panel that divides the pipes. It is going to be another pipe in front of this panel.
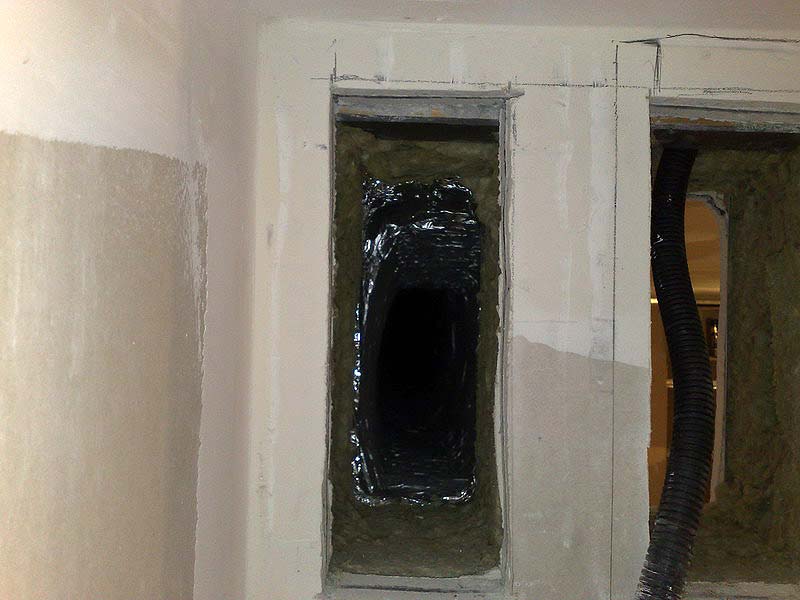
The outgoing pipe is fixed to the hole in the dividing wall.
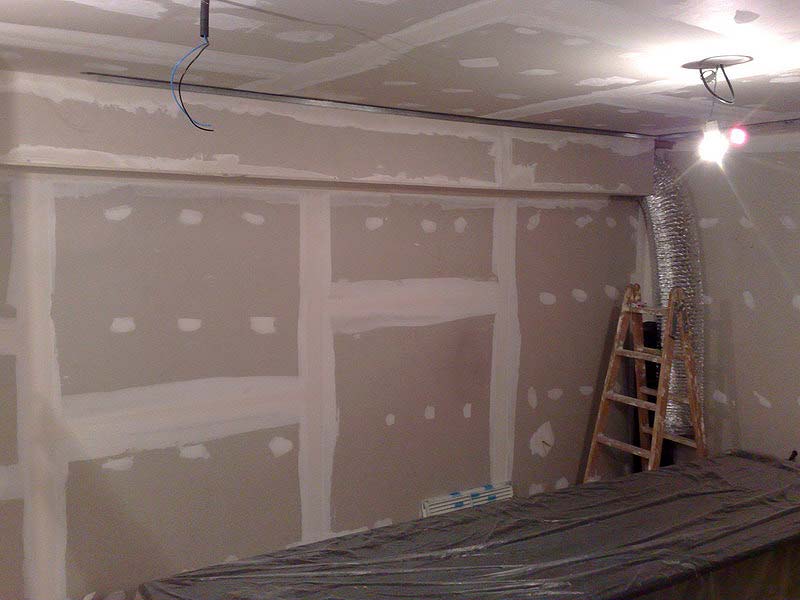
Outgoing ducting plastered and finished.
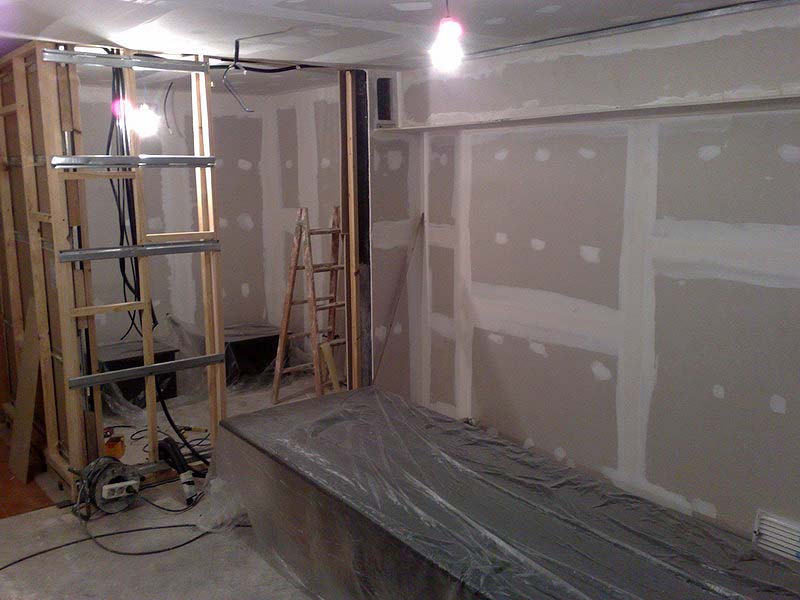
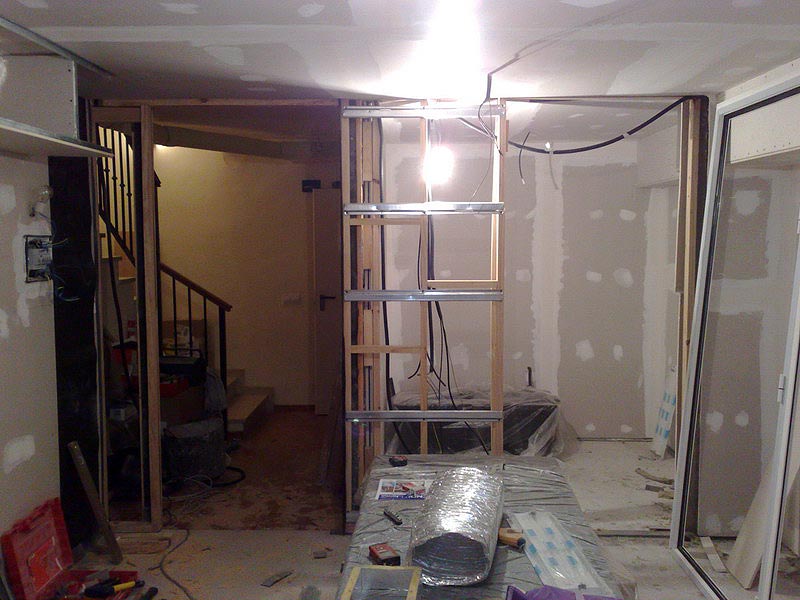
The wall between the doors is coming up.
DAY 26 Monday, 5 Jan, 2009
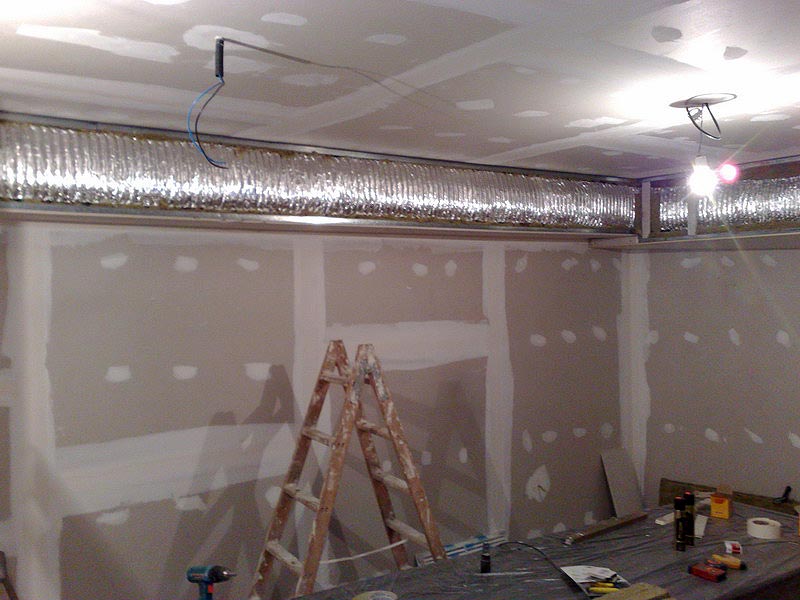
We are still making the AC ducting works. It has been a very time consuming thing to do, specially the task of placing the rockwool properly stuffed. This stuff is really itchy!
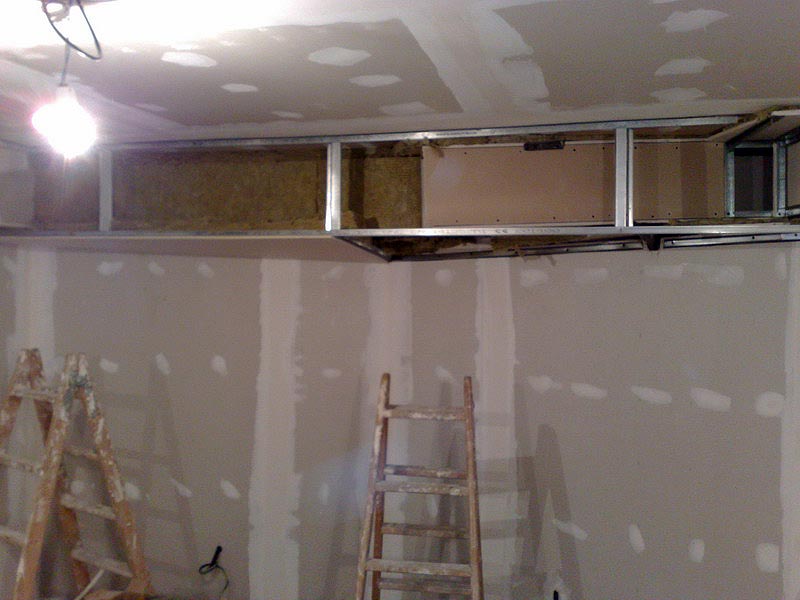
Front wall ducting structure ready for the second pipe.
The incoming pipe placed into the channel.
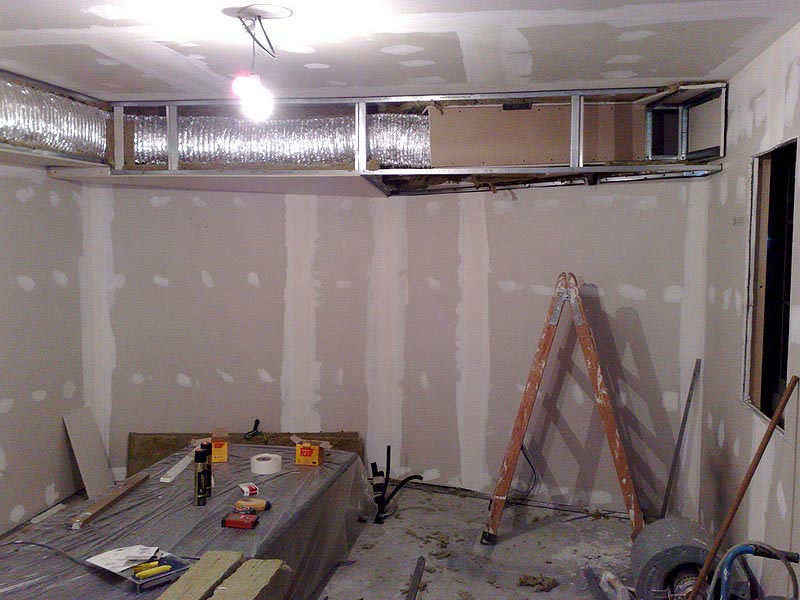
The second pipe connected to the sound filter.
DAY 27Wednesday, 7 Jan, 2009
More ducting work to be done. Today closing the front wall ducting.
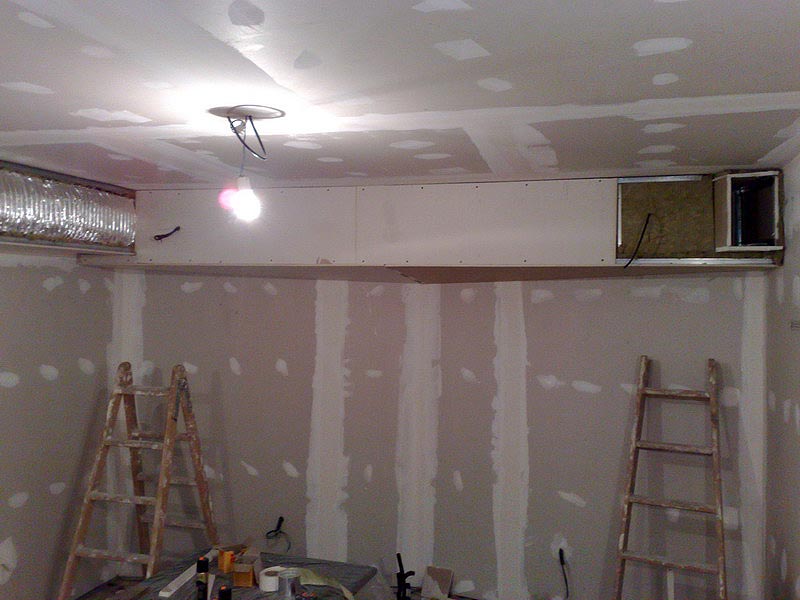
Final gypsum panels covering the front wall AC pipes.
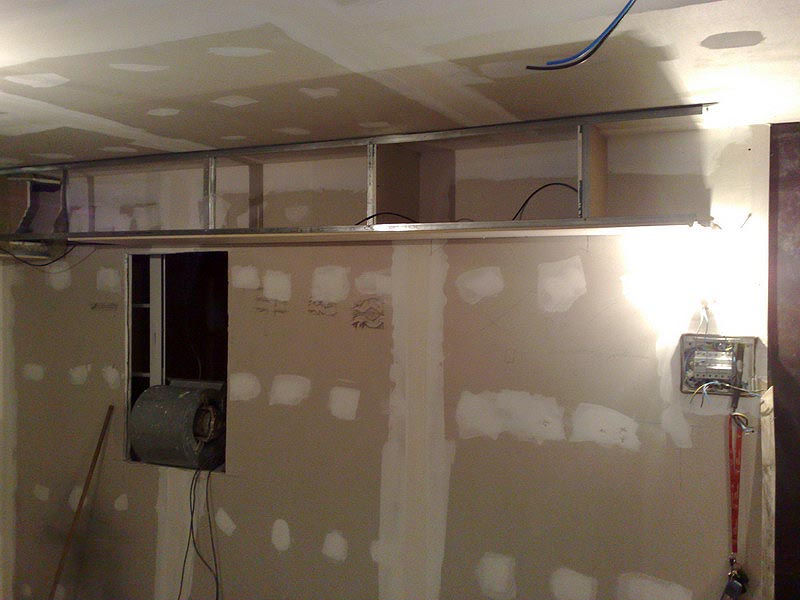
The right side ducting is coming up quickly. This side has only one incoming pipe and it's easier to build.
DAY 28 Thursday, 8 Jan, 2009
We decided that is time to place the main entrance door so Pepe started to prepare the framing to receive the door.
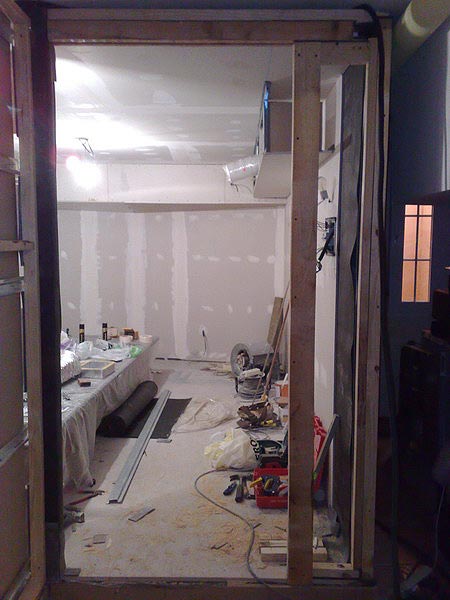
Main door framing work from the outside.
DAY 29 Friday, 9 Jan, 2009
Finally the main entrance door has been fixed. Suddenly I felt that the end of the studio construction was coming... But there is still a lot more work to be done.
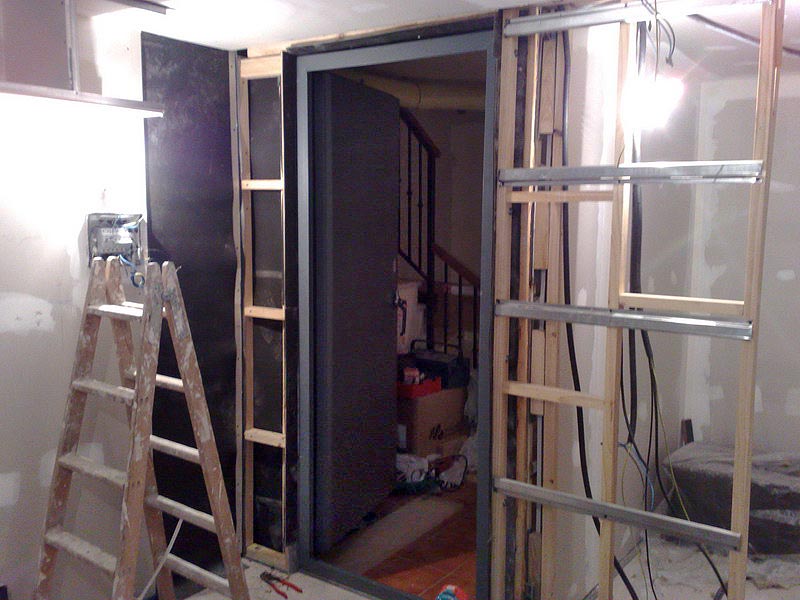
Main studio entrance door in place!!!
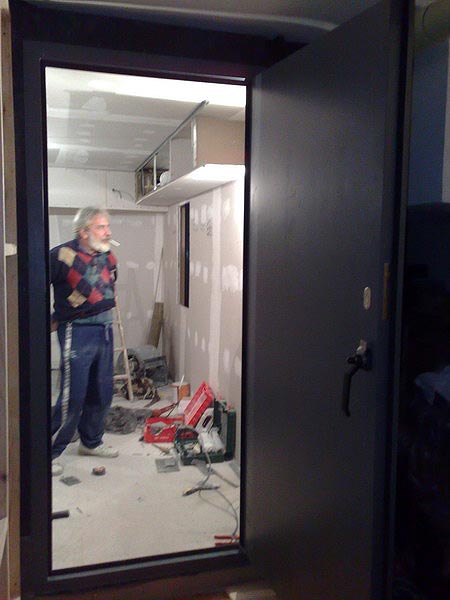
The main door from the outside.
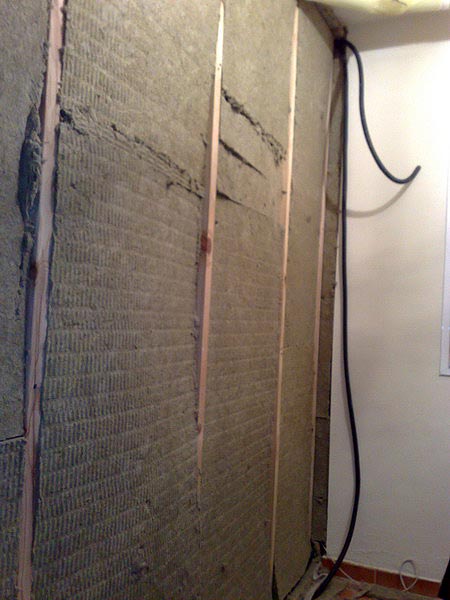
One of the outside walls gets a second layer of rockwool.
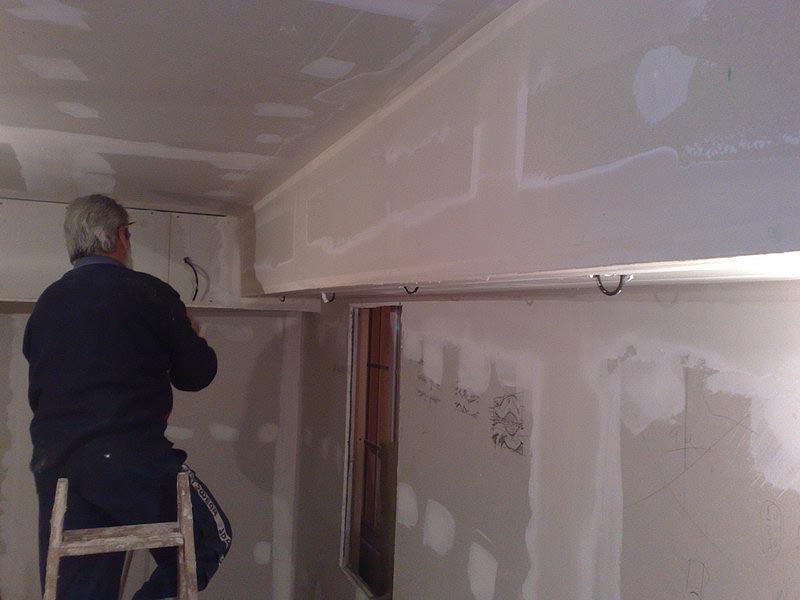
Pepe finalizing the plastering of the right side ducting.
DAY 29 Night Friday, 10 Jan, 2009
I got the new computer parts to upgrade my DAW machine. I spent the whole night rebuilding and installing... until 6.30 am!
The reason for the upgrade was to replace my old Pentium 4 @ 2,4 Mhz for a more modern computer.
I wanted to keep my old Matrox P750 Triple Head video card and I also have 3 UAD-1 cards (PCI). I had to hunt down a not-so-modern motherboard that would let me keep those cards. I also wanted to get an extra PCIe slot for my future UAD-2 Quad card that I plan to purchase as soon I got some extra money. The studio construction is killing my bank account.
New DAW Specs:
New motherboard: ASRock 4CoreDual-SATA2 Socket 775
New CPU: Intel Core 2 Quad Q9550 2.83Ghz FSB 1333 12MB
New CPU cooler fan: Xilence P4 - Socket 775
New RAM sticks: Kingston ValueRAM DDR2 667 PC2-5300 2GB 2x1GB
New HD: Seagate IDE 160 Gb (for the new XP installation
Total price for the parts: 424,90 Euros.
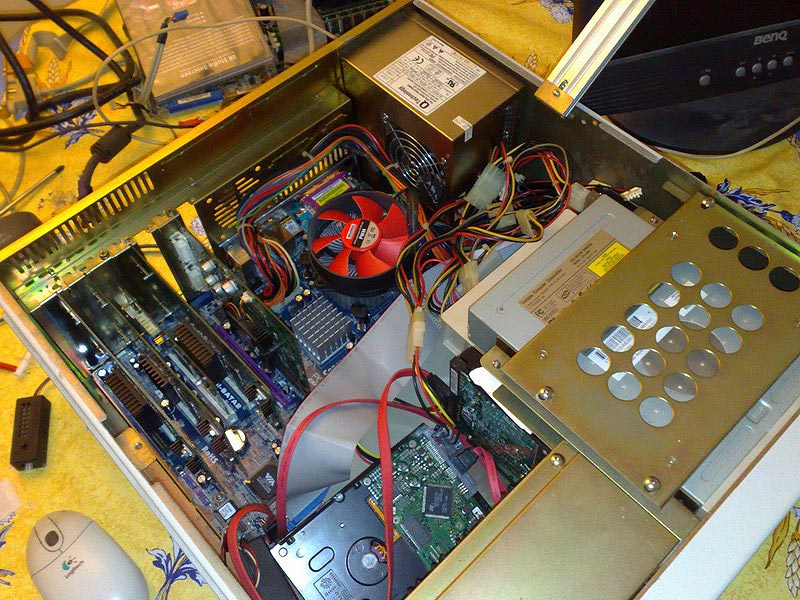
The new DAW during the "mechanical" work. I had to dismantle the whole rack to install the new motherboard. It took me about 7 hours to do the upgrade and install Windows and the drivers. The machine is running smooth and silent!
DAY 30 Saturday, 10 Jan, 2009
Pepe has plenty of free time on his hands so he decided to work over the weekend!!! This guy in incredible. He confess that he really enjoys working. I have to admit I've been extremely lucky to get him for the construction. His work is pretty neat too!!!
He spent the whole weekend plastering all the walls and preparing the wall between the control room and the vocal boot.
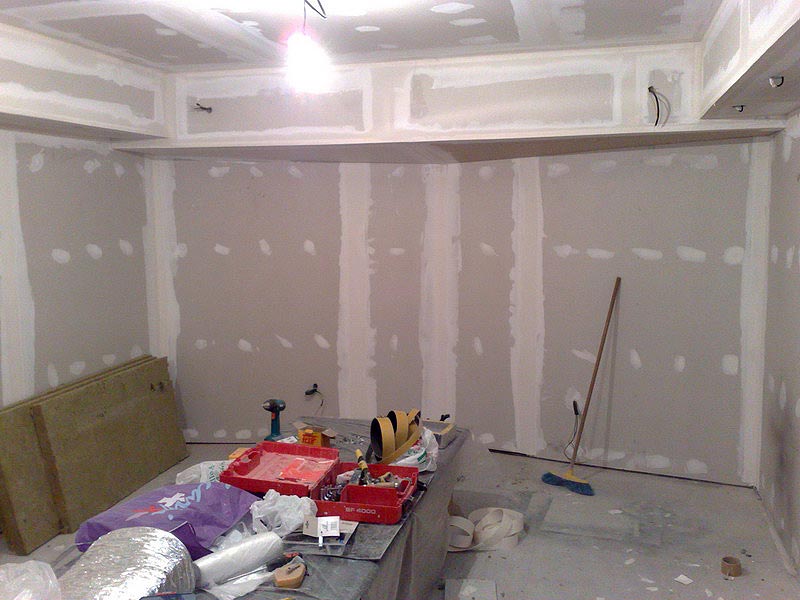
Walls plastered and fine tuned.
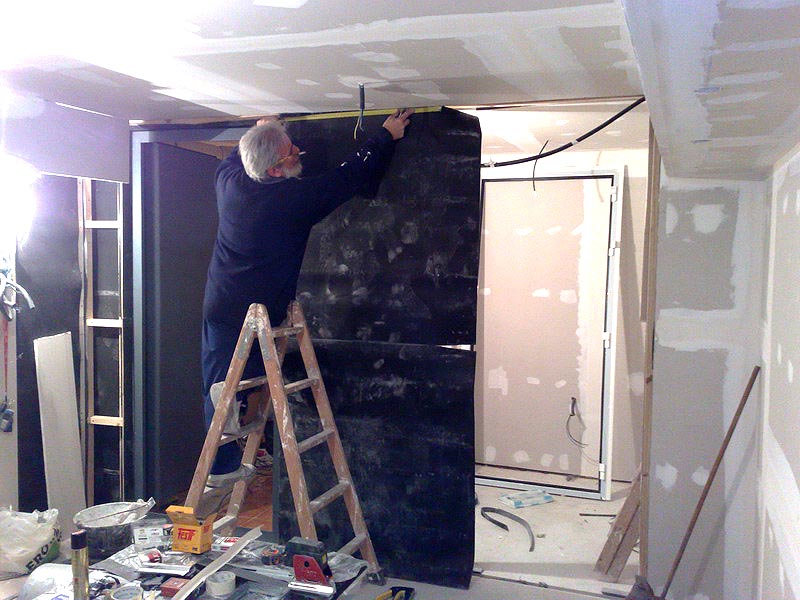
Placing the sound barrier on the separation wall between the control room and the vocal boot.
DAY 31 Sunday, 11 Jan, 2009
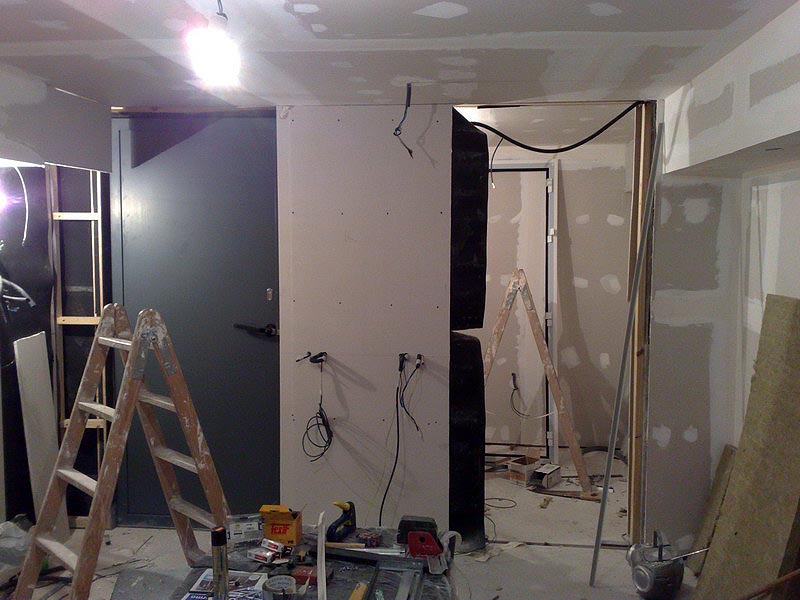
Same wall with the second gypsum layer fixed and the wiring for the switches placed through.
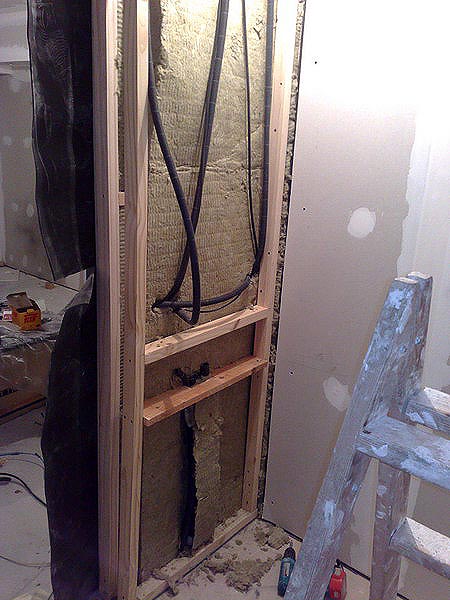
The framing for the patch bay in the vocal boot.
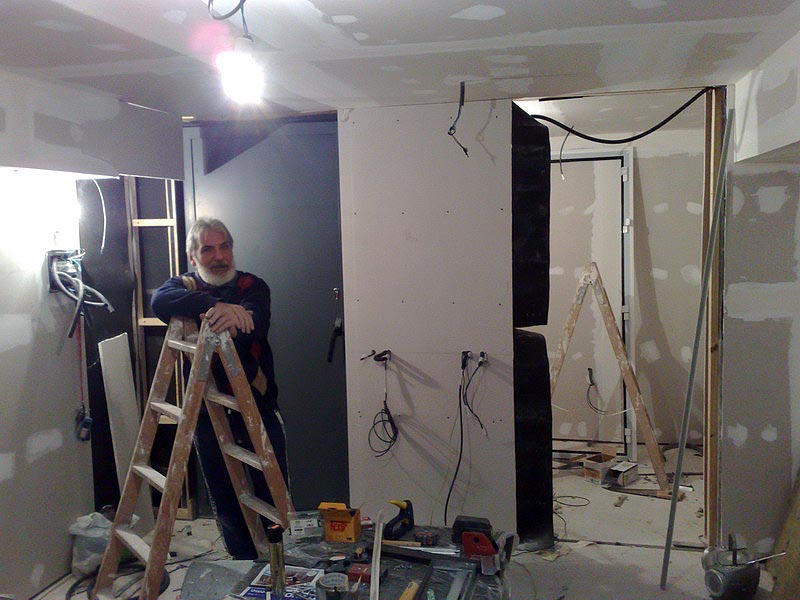
Pepe is very proud of his own work and I must say that it is outstanding.
DAY 32 Monday, 11 Jan, 2009
More plastering is going on and some details are being placed.
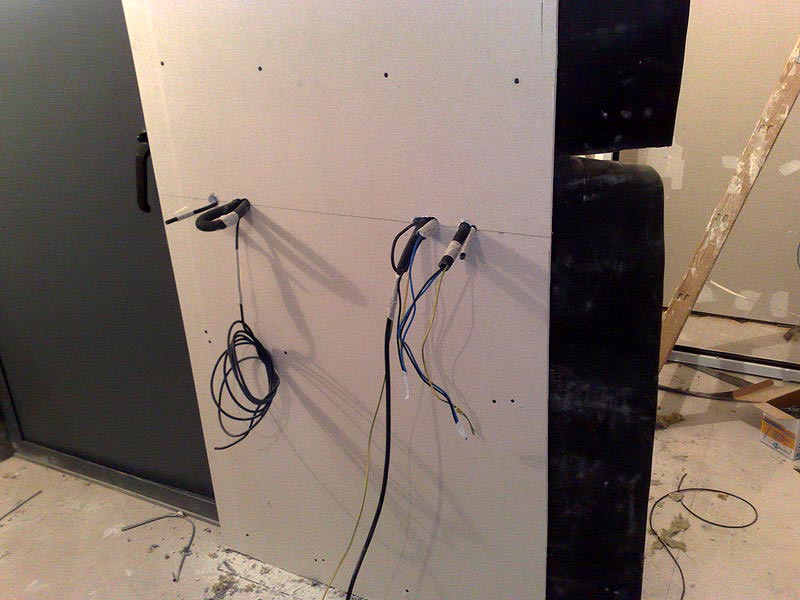
The wiring for the light switches - Detail.
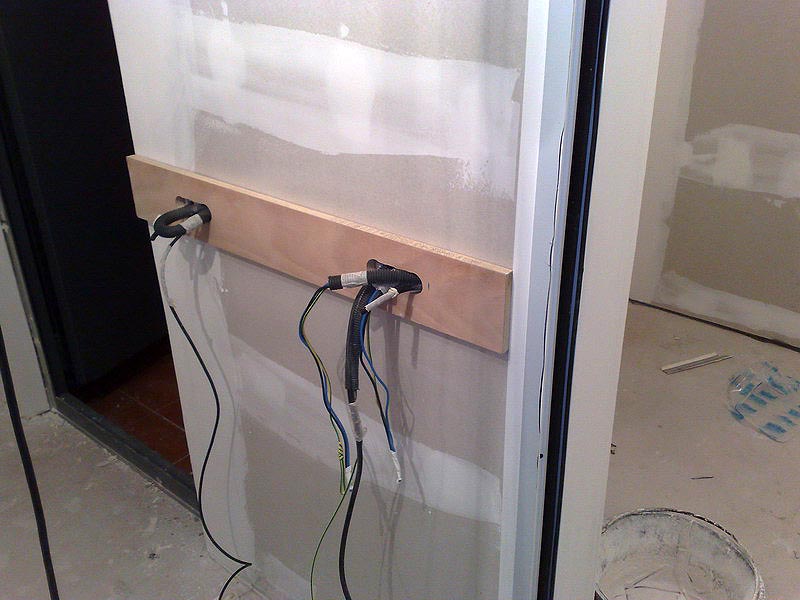
Plastering on the last wall and the piece of wood that will hold the switches for the lights.
DAY 33 Tuesday, 13 Jan, 2009
Preparing the patch bay receptacle is a complicated work. 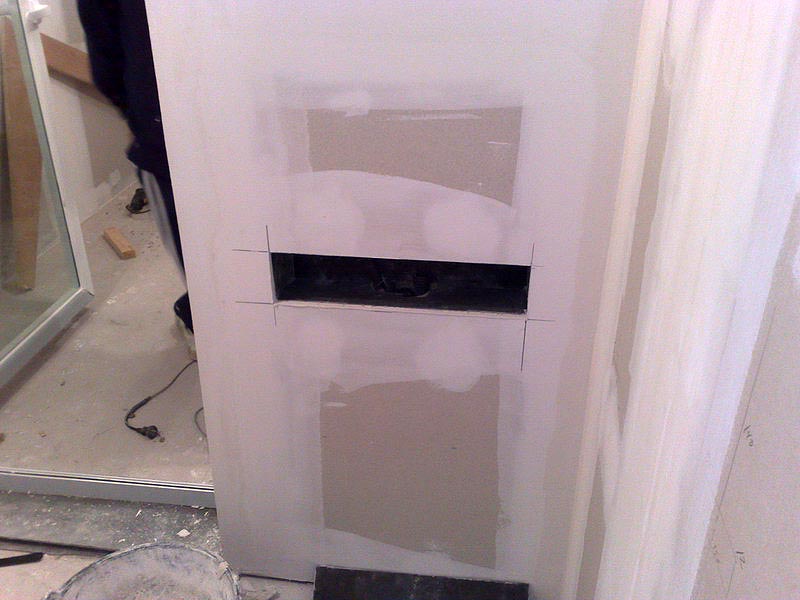
Here the patch bay hatch waiting for the wiring.
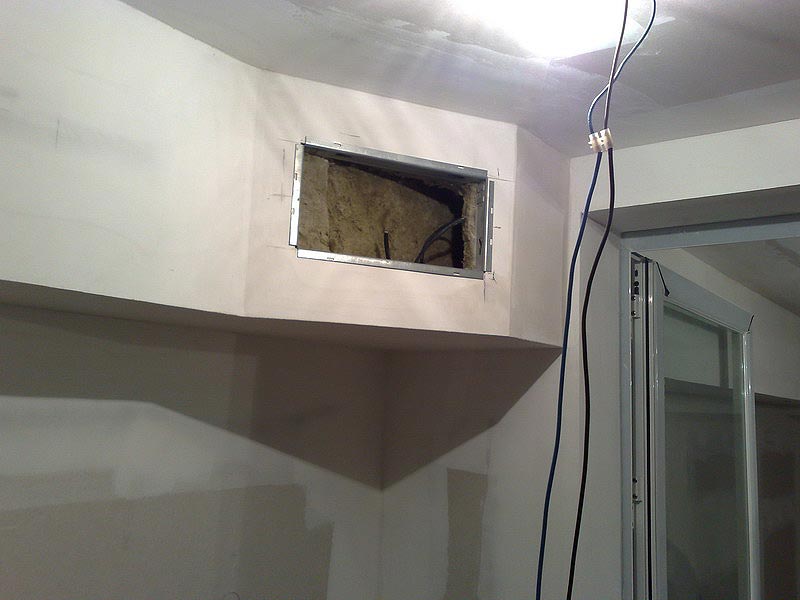
The holes for the AC grids are being opened too.
DAY 34 Wednesday, 14 Jan, 2009
First painting day! Pepe keeps up with his wonderful work opening up holes for the AC grids and the painter has already done the first white paint layer!!!
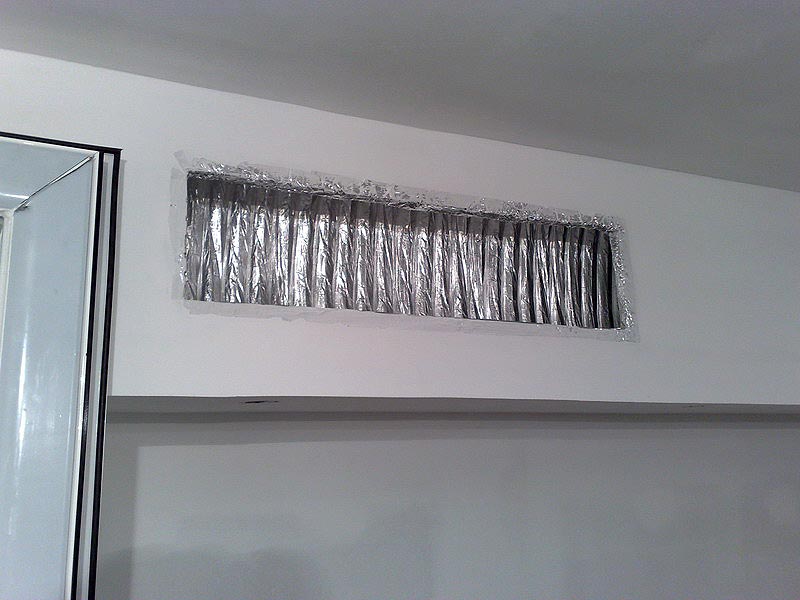 Nice work adjusting the pipe to the gypsum panel.
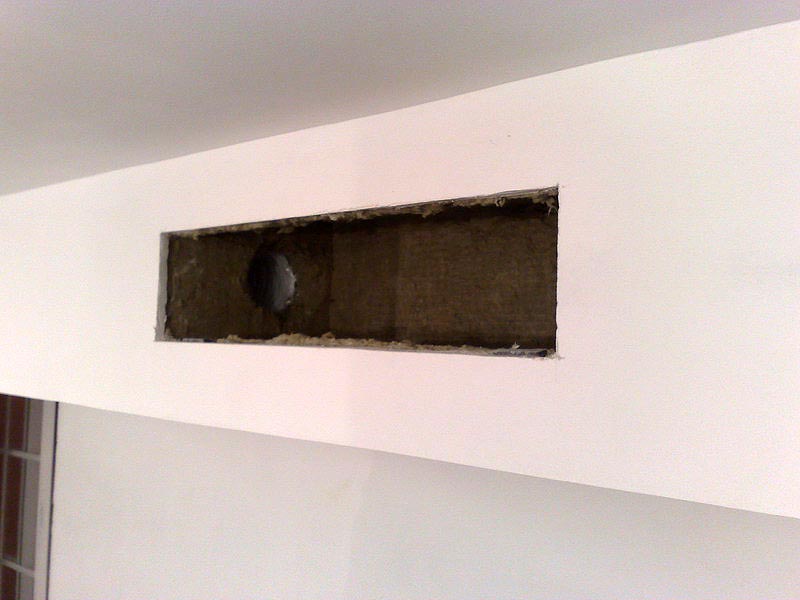
The right side has no pipe so the incoming hole get sound isolation and is ready for the grid to be fixed.
DAY 35 Thursday, 15 Jan, 2009
Second painting day!! The electrician has been at the site and finalized the wiring for the electrical fuse box too.
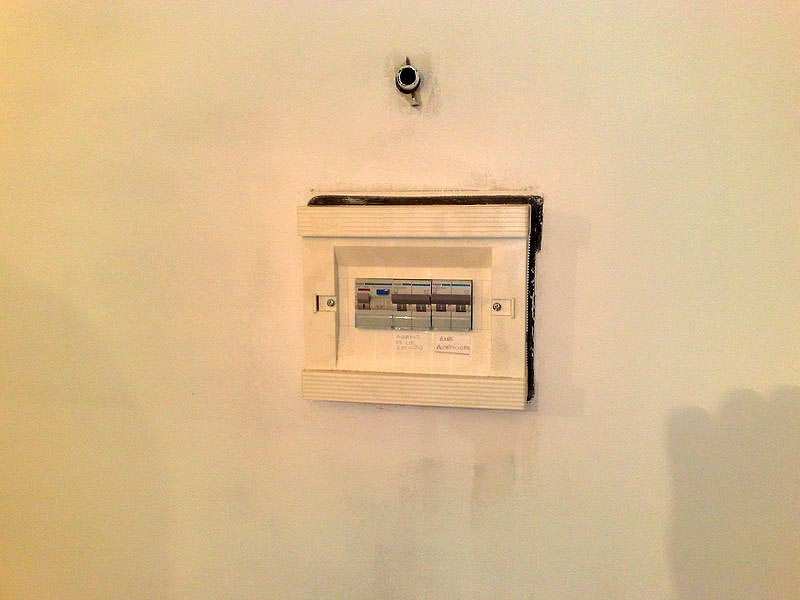
Electrical box ready!
Final Week
Painting, flooring and Auralex paneld fixed. The studio is ready and runnig!
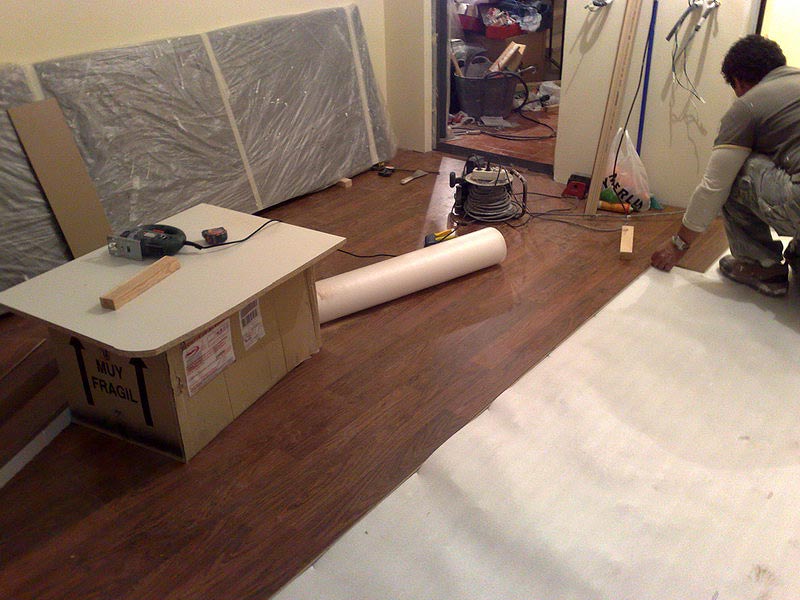
Placing the foor in the control room.
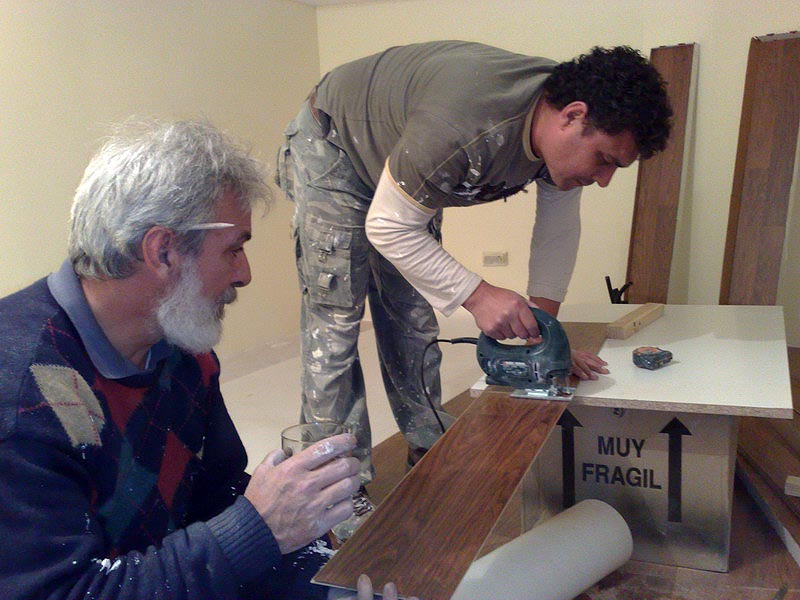
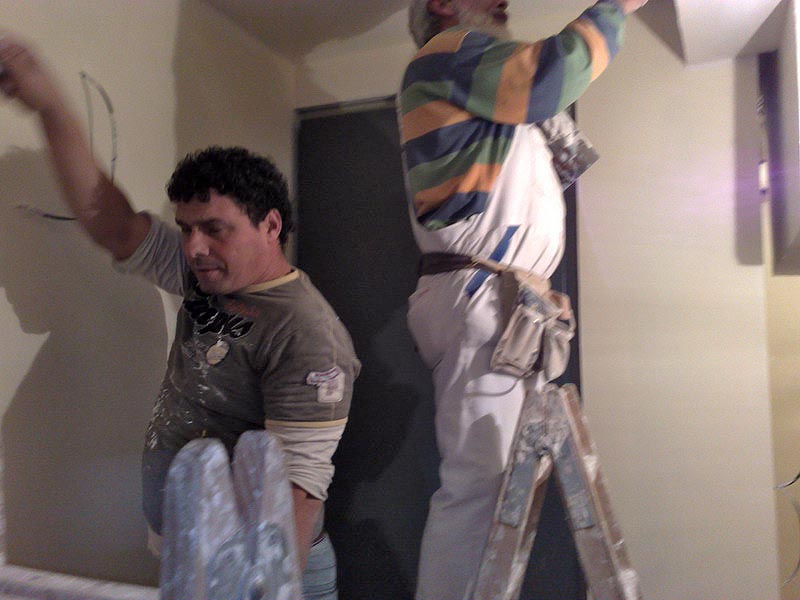
Paiting and plastering the entrance.
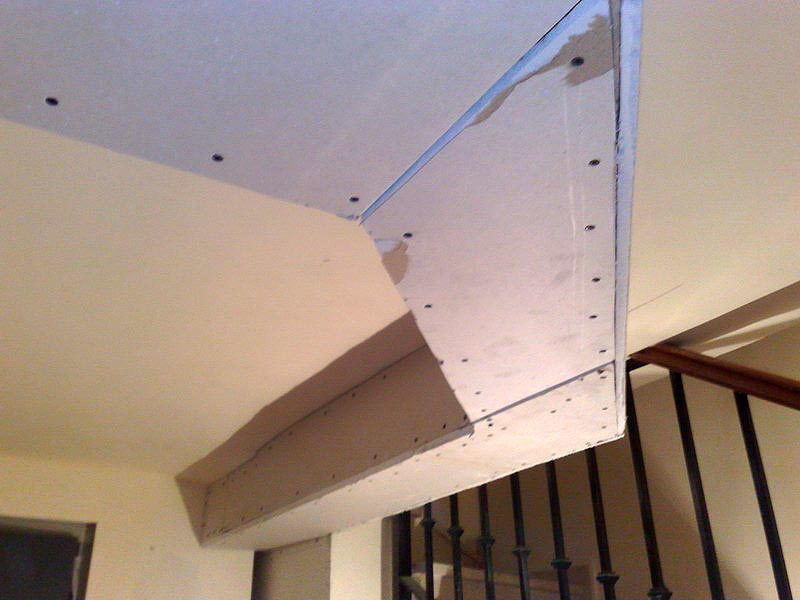
The gypsum panels that hides the draining pipe.
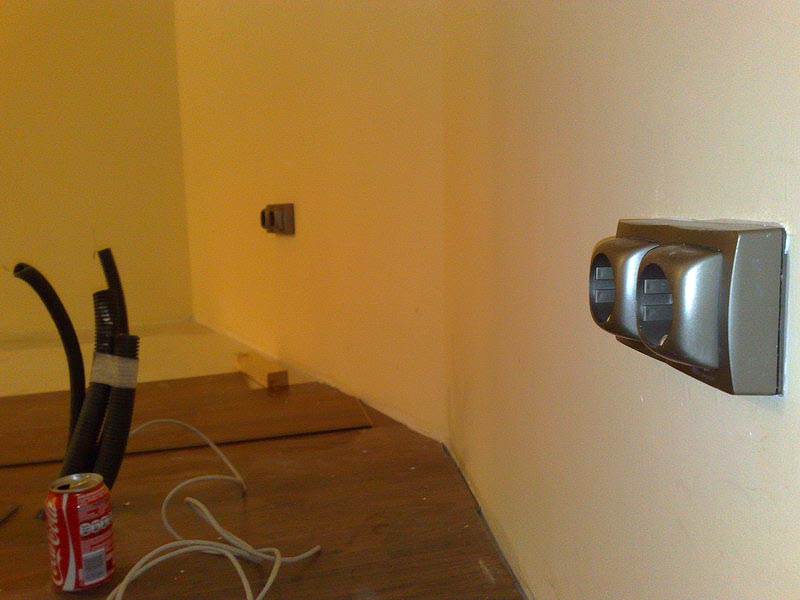
Electrical sockets installed.
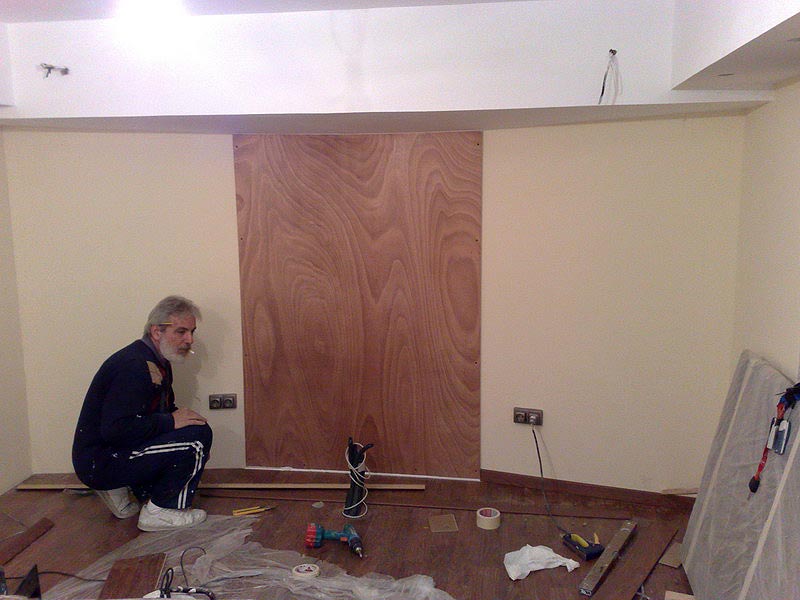
Wood panel fixed to the front wall.
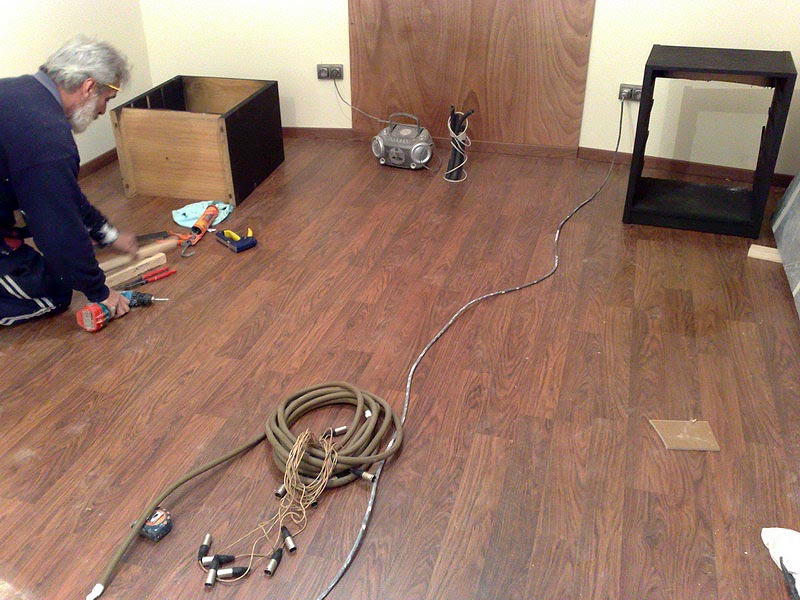
Mounting the furniture.
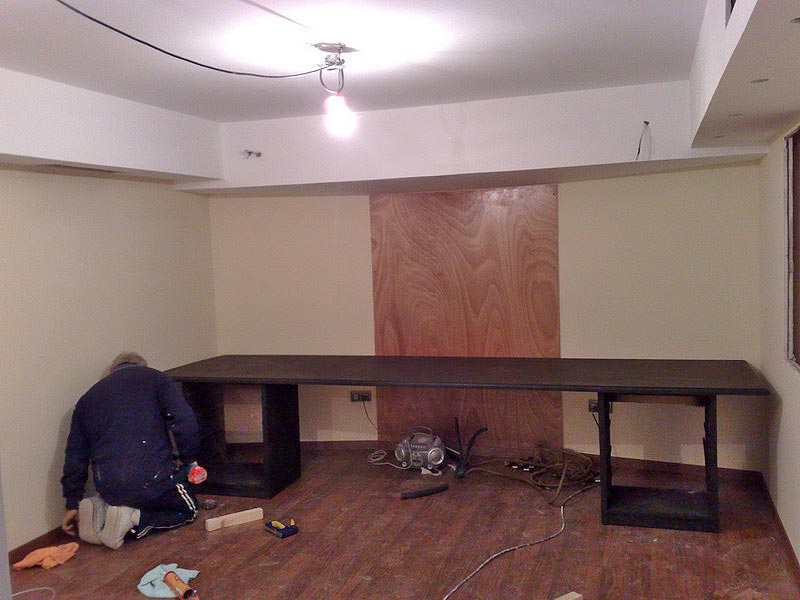
The main table is ready for the equipment.
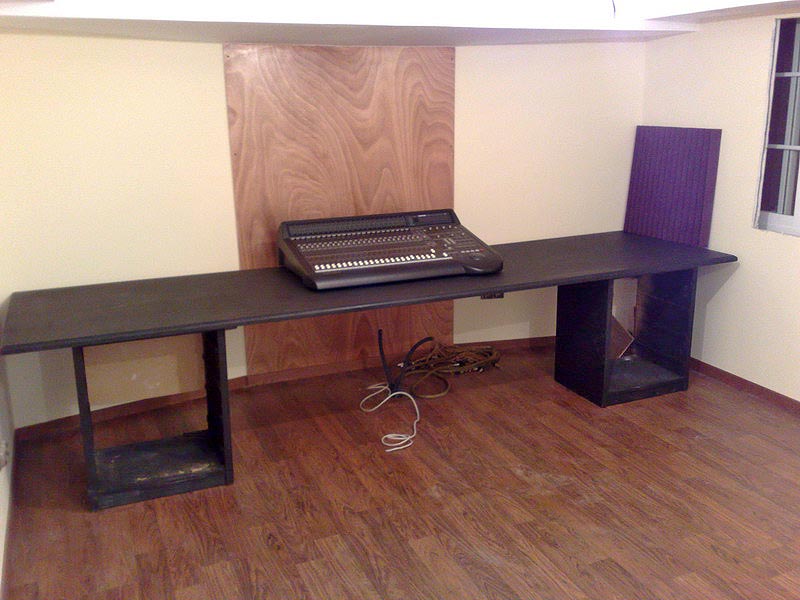
The d8b is in it's place. The cables that goes to the patch bay are also in place.
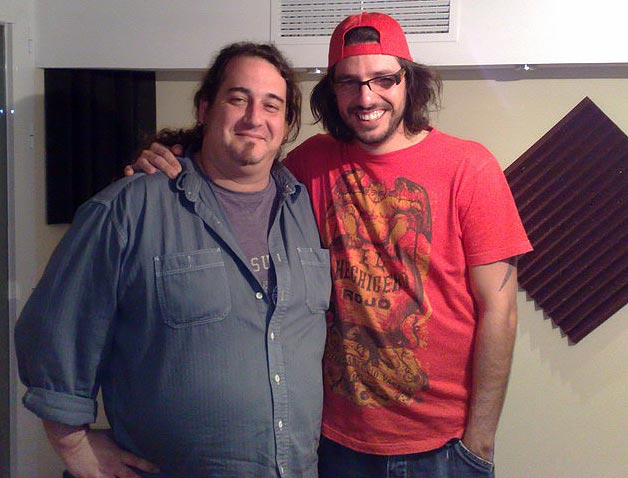
Curro Millet and Emiliano Barés helped to fix the Auralex planels to the walls. Thank you guys!
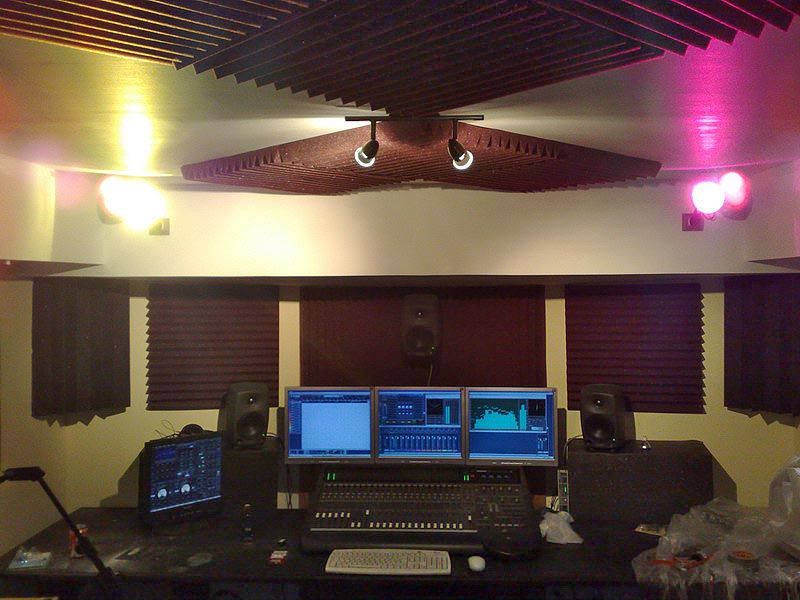
The systems up and runnig... the room sounds amazing.
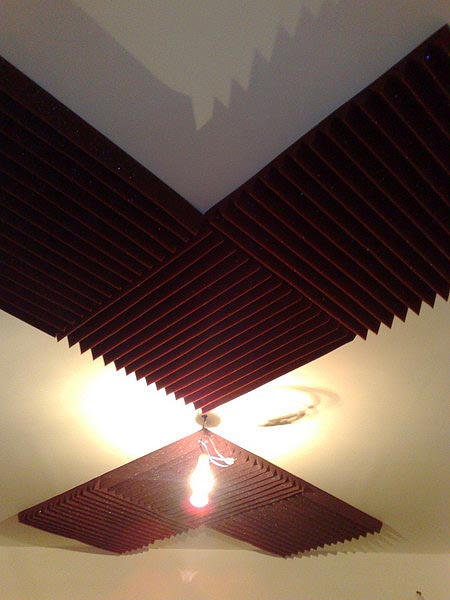
Auralex panels in the ceiling.
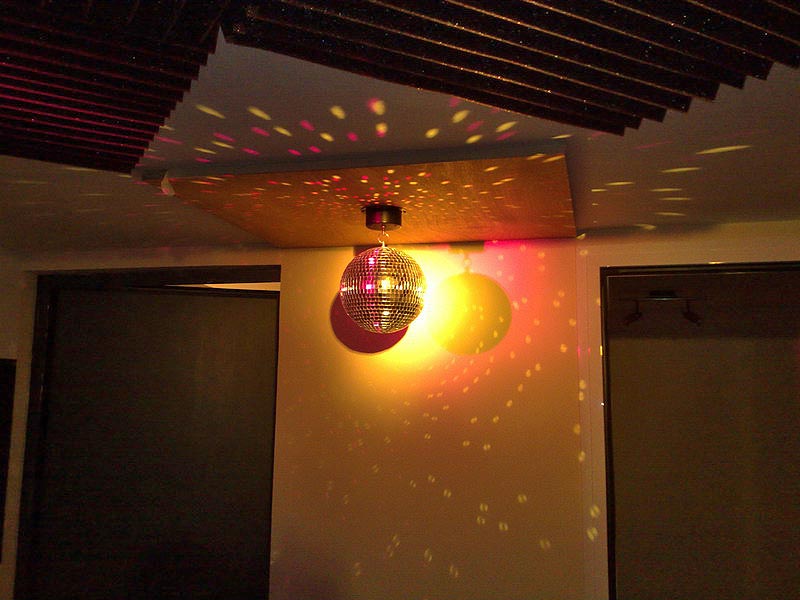
And the mirrors ball...
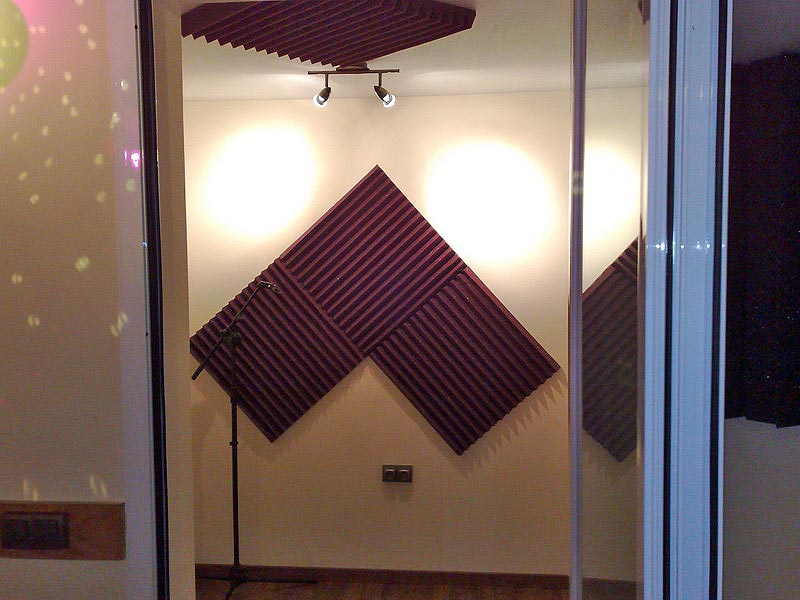
The vocal boot ready. I have not welded the patchbay yet but a friend of me will do it next week.
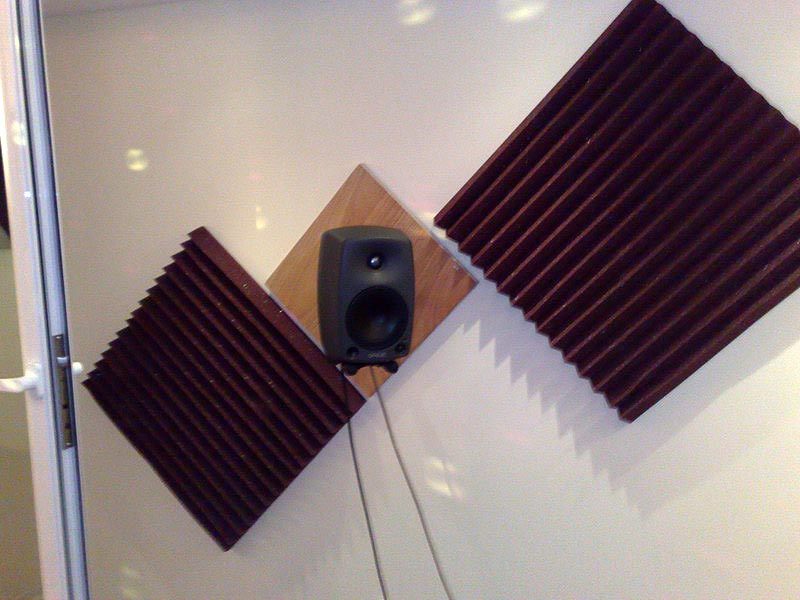
Surround speaker detail.
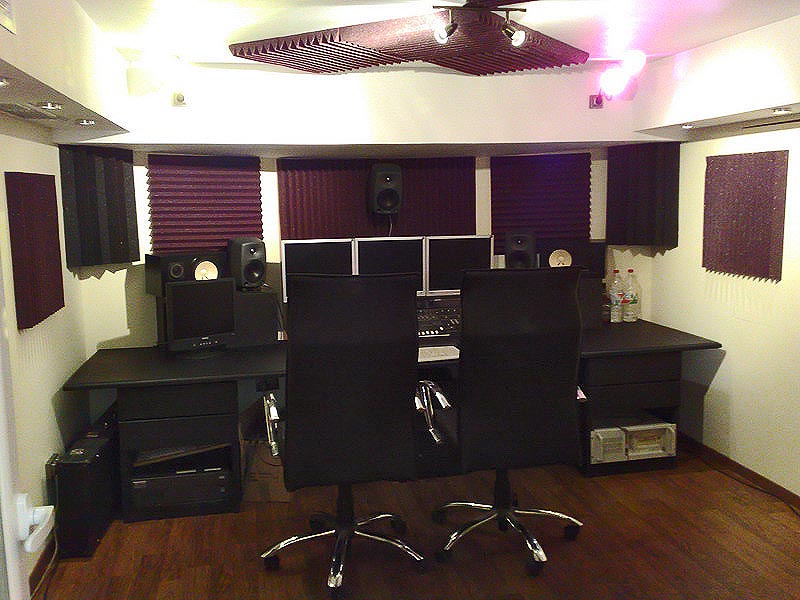
That is how the studio looks afer cleaning.
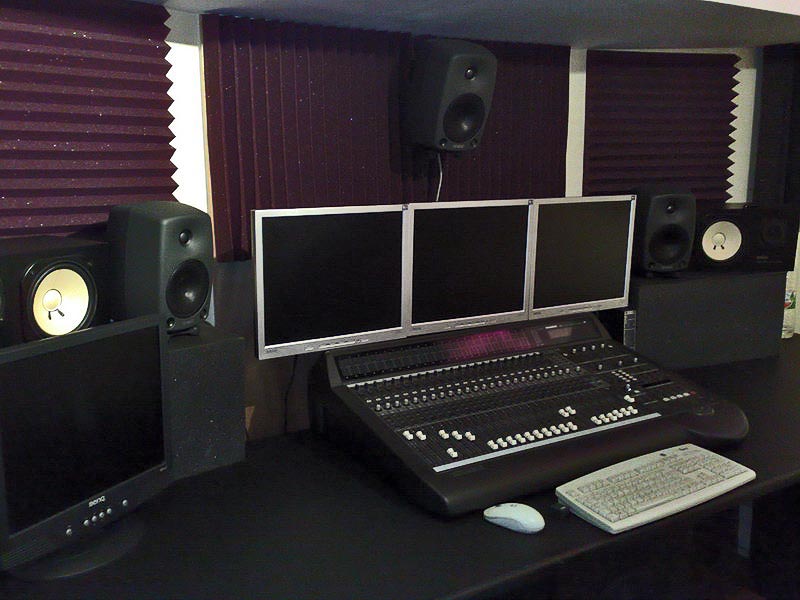
I celebrated my birthday this Friday and had the inauguration party at the same time. Everybody enjoyed the new studio and was really impressed.
Thanks for watching!
